Steam curls up from the valve and your stomach starts talking back. You sense a warm kind of excitement settling in the air and the kitchen feels alive. It’s Halloween vibes with a twist, and you feel the urge to bake something wickedly delicious.
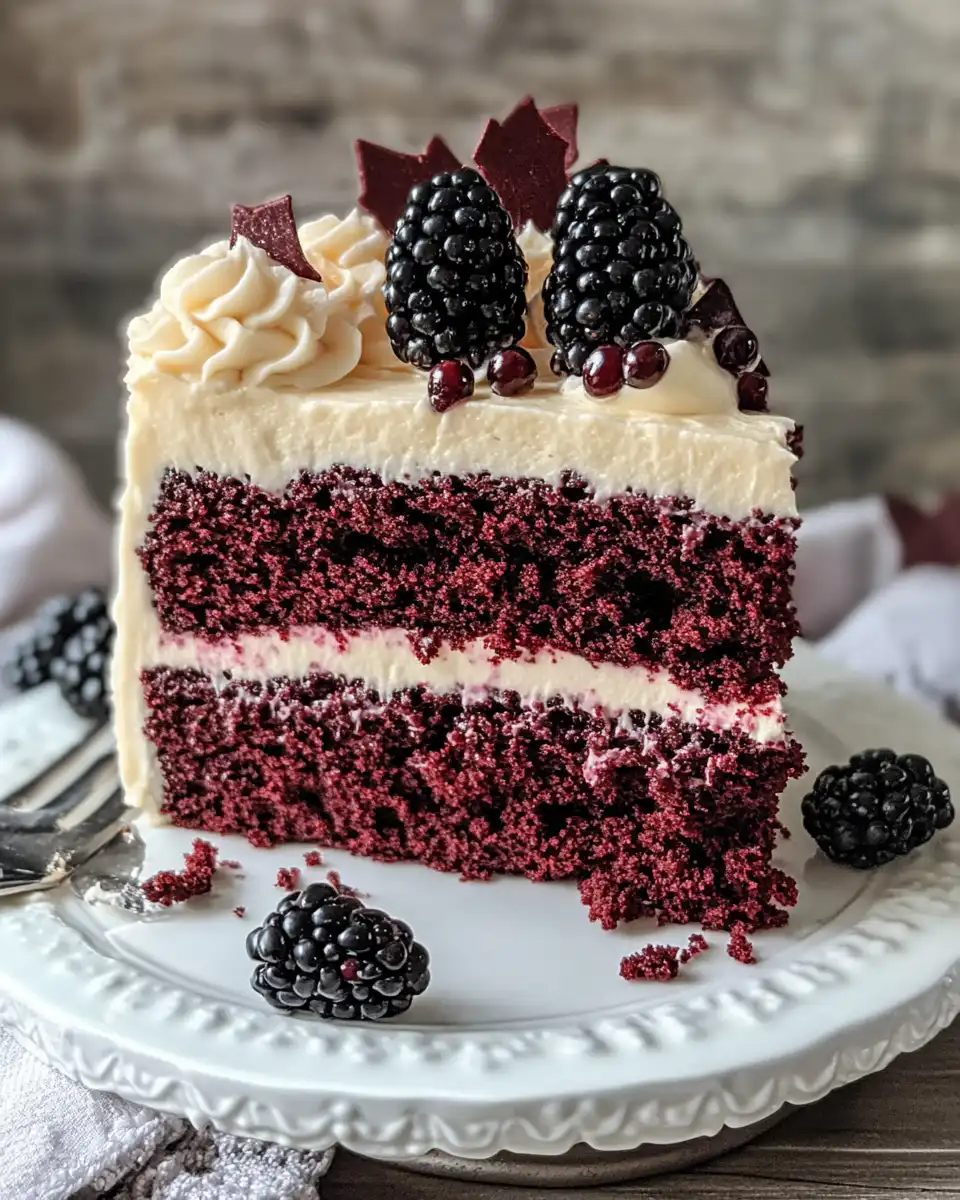
The pressure cooker sitting there kinda shouts potential. You remember the last time you used it to pull off a deep, chocolatey cake that was so moist, it felt like the crumbs melted on your tongue. This Spooky Black Velvet Halloween Cake is no different.
It’s not just about the black cocoa powder that gives it that eerie shade. You gotta think about the fresh blackberries, the hint of lemon, and the cinnamon stick that adds some sneaky warmth. Trust me, once the steam cues signal that pressure build, you’re in for something special and quick. You’re ready to dive in, right?
What Makes Pressure Cooking Win Every Round
- Pressure cooking traps steam making the cake super moist, like serious broth depth for the batter.
- It speeds things up so you don’t gotta wait forever for the cake to bake.
- The slow release option lets you control the finish, helping the cake set just right without drying out.
- Steam cues tell you when the pressure’s build enough for perfect baking conditions.
- Quick release lets you open the cooker fast when you’re eager to check on your spooky treat.
- It keeps your kitchen cooler since the heat stays contained inside the cooker.
The Complete Shopping Rundown
- 2 cups white granulated sugar
- 2 cups all purpose flour, sifted
- ¾ cup black cocoa powder, sifted
- 2 teaspoon baking soda
- 1 teaspoon baking powder
- 1 teaspoon salt
- 2 eggs, room temperature
- 1 cup buttermilk, room temperature
- 1 cup hot coffee
- ½ cup canola oil
- 2 teaspoon vanilla extract
- 2 cups fresh blackberries
- 2 tablespoon white granulated sugar
- 1 tablespoon fresh lemon juice
- 1 teaspoon lemon zest
- 1 cinnamon stick
- ¼ cup water
- 1 tablespoon cornstarch
- 8 oz cream cheese, softened
- ½ cup unsalted butter, softened
- 3 cups powdered sugar, sifted
- 1 cup black cocoa powder, sifted
- ¼ teaspoon salt
- 1 teaspoon vanilla extract
- Chocolate skulls, for spooky garnish
- Fresh blackberries, for decoration
- Dried rose petals, if you’re feeling fancy
How It All Comes Together Step by Step
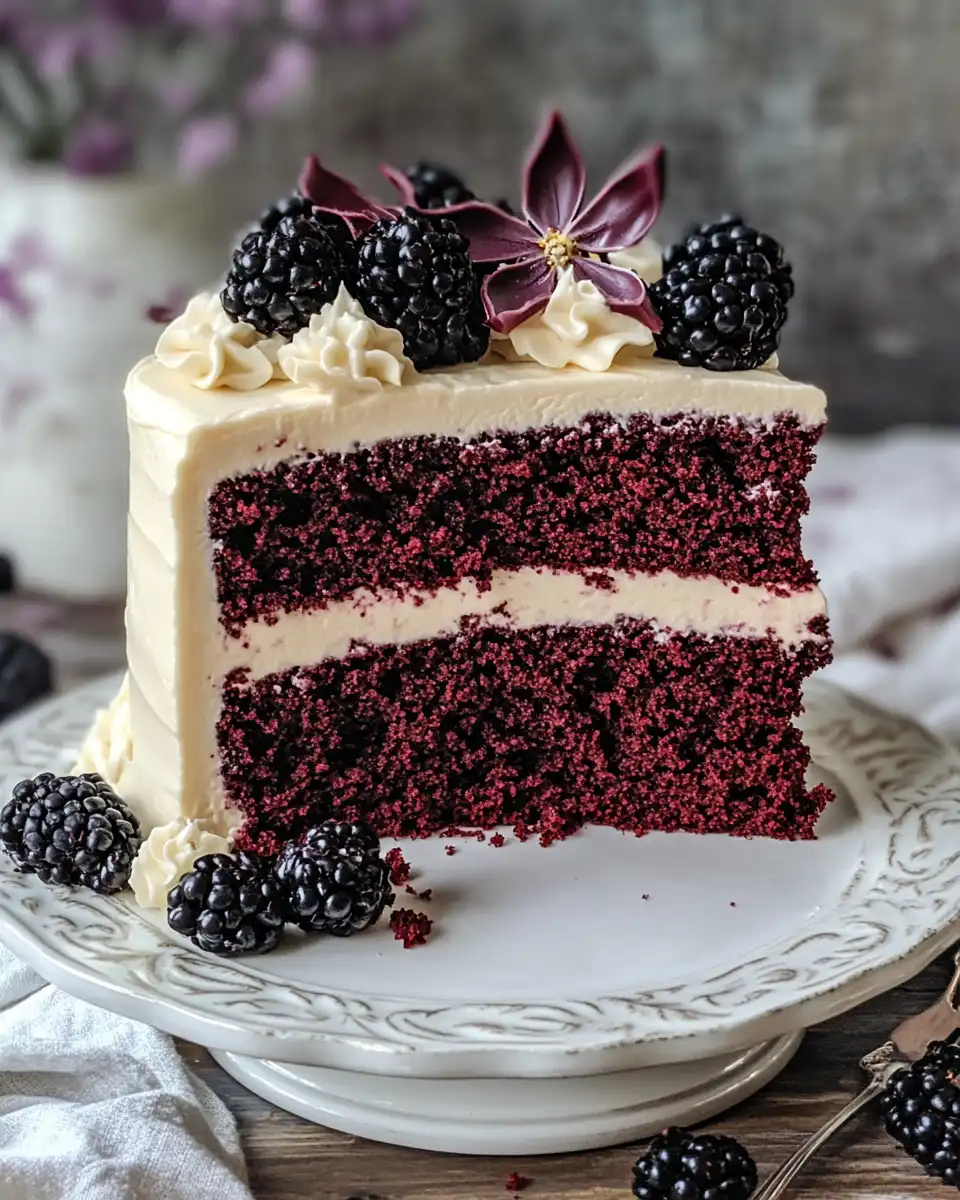
Step one, preheat your oven (yes you still gonna use it for this part) to 350°F (175°C). Grease and flour two 9-inch round cake pans real good so the cake doesn’t stick and ruin your vibe.
Step two, in a big bowl, toss together sugar, flour, black cocoa powder, baking soda, baking powder, and salt. Whisk it all until it’s nicely mixed. You don’t want lumps messing up your batter.
Step three, grab another bowl and whisk eggs, buttermilk, hot coffee, and canola oil. This wet mix needs to blend smooth but don’t overdo it.
Step four, slowly add the wet mix into the dry stuff. Stir gently until it just comes together, no overmixing! It’s okay if it looks a little rough.
Step five, divide your batter equally between the two pans and smooth out the tops with a spatula. Pop them in the oven and bake for 30-35 minutes. You’ll know it’s done when a toothpick slides out clean.
Step six, once baked, let the cakes cool in the pans for 10 mins. Then flip them out onto a wire rack and let cool completely before you start frosting. Patience pays off here.
Quick Tricks That Save Your Time
- Mix dry ingredients the night before so you just gotta add wet stuff the next day. Saves a bunch of time!
- Use instant coffee if you don’t wanna brew a fresh pot. Works real good for that rich coffee flavor.
- Softening cream cheese and butter in the microwave for 15 seconds speeds up your frosting game.
- Freeze your blackberries ahead of time to make a quick blackberry sauce instead of fresh cooking.
When You Finally Get to Eat
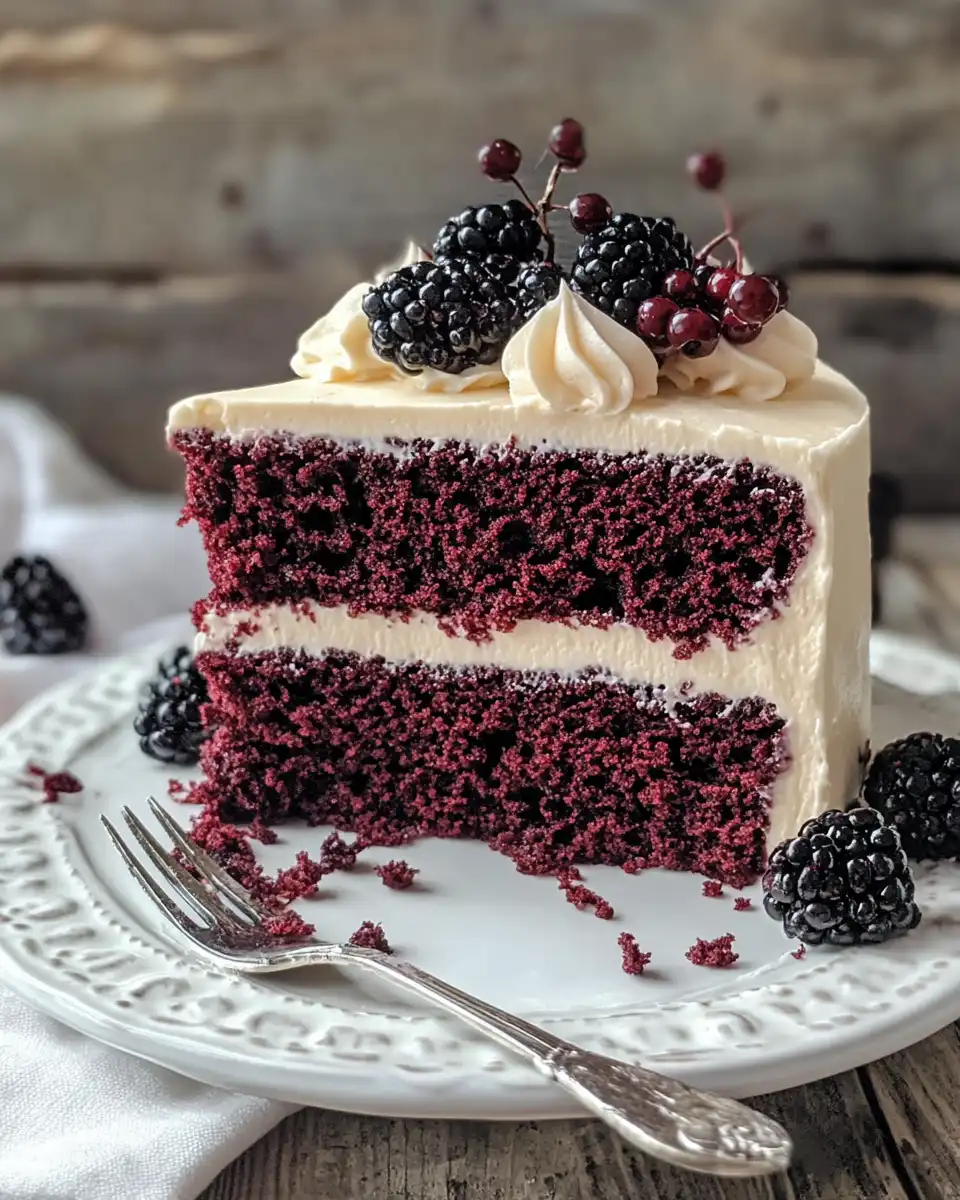
You slice into that black velvet cake and see how deep and dark it looks. The steam cues you got from the cooker meant the crust is perfectly tender with a moist crumb inside. The first bite feels like velvet sliding down your throat.
The blackberry filling adds this juicy punch with lemon zing and cinnamon warmth. It’s spooky but sweet, kinda like Halloween in your mouth. You swear the coffee notes sneak in just enough to keep things interesting.
Frosting slathered on thick with black cocoa and cream cheese makes it finish smooth and rich. You remember why pressure cooking is your secret weapon. This cake? You won’t forget it anytime soon.
Making It Last All Week Long
If you got leftovers, wrap the cake layers tight in plastic wrap. It keeps moisture locked in like a charm and prevents it from drying out.
Store the wrapped cake in the fridge. This way it stays fresh for about 4-5 days. Just bring to room temp before serving for best flavor and texture.
If you wanna keep it longer, slice it up and freeze the pieces in a sealed bag. To eat, just thaw overnight in the fridge and maybe a quick zap in the microwave if you want it warmer.
The FAQ Section You Actually Need
- Can I make this cake entirely in the pressure cooker without the oven? You can bake cakes in the pressure cooker but for this recipe, the oven is where it gets its perfect shape and crust. For more pressure cooker baking adventures, check out our pressure cooker recipes that inspire speedy meals.
- What’s the point of slow release after pressure build? Slow release ensures the cake finishes gently without collapsing or drying out, keeping it moist and fluffy. Learn more about pressure cooker techniques in our pressure cooker safety tips.
- Why do you use hot coffee instead of water? The hot coffee adds depth to the flavor and enhances the black cocoa notes in the cake. Water won’t give you that. Explore similar flavor tricks in our Onepot Creamy Beef and Garlic Butter Pasta.
- Can I substitute black cocoa with regular cocoa powder? You could, but black cocoa gives the cake that signature dark color and richer chocolate taste. Regular cocoa is lighter. Need more chocolate ideas? Check out our Dark Chocolate Nut Squares.
- How do steam cues affect baking? Steam cues help you know when your pressure cooker reached the right pressure level, so baking starts perfectly timed and temperature controlled.
- Can I store leftover frosting separately? Totally. Keep it in an airtight container in the fridge and give it a good stir before slathering it back on your cake.