The pot lid rattles and you know dinner is almost ready. You catch the scent of garlic and ginger filling the kitchen, making your tummy rumble before the meal even hits the table. The float valve moves gently as pressure builds up inside the cooker, you sense something good is just moments away.
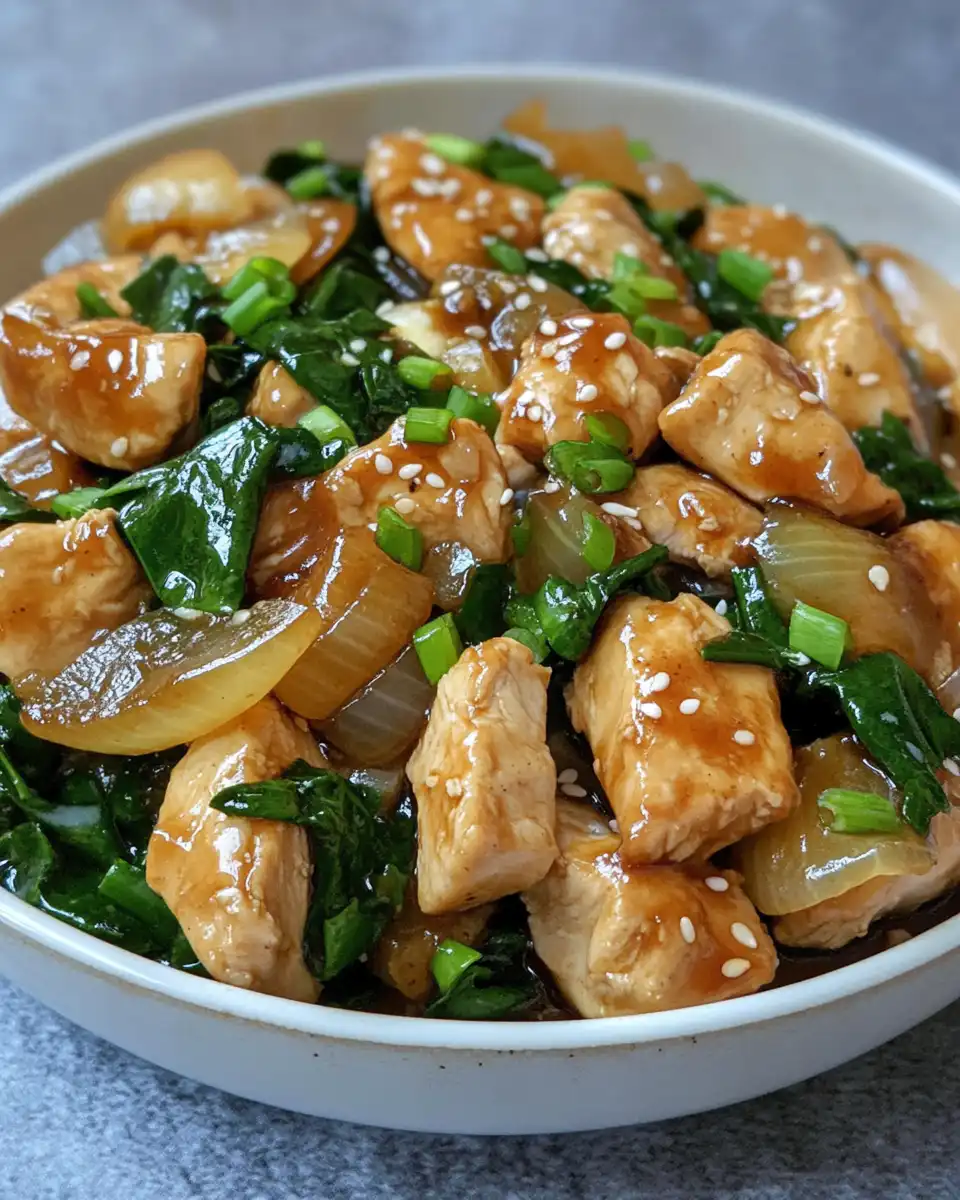
You spot the thin slices of chicken mixed with sweet, translucent onions, bathing in that glossy, savory sauce. The valve hiss sounds like music, reassuring you that the sealing ring is holding tight and pressure is perfect for locking in flavor and tenderness. You feel the excitement rising as the timer counts down, knowing this dinner’s gonna hit the spot.
It’s the kinda meal that tastes like it took hours but really just kinna zipped together in a snap. Chicken, onions, garlic, soy sauce all joined up quick under pressure. You can’t wait to dig in and savor every bite, making this dish a new fave for busy weeknights or a cozy weekend treat.
The Truth About Fast Tender Results
- Pressure cooking traps steam and heat, tenderizing chicken super fast compared to stovetop cooking.
- The sealing ring keeps all that steam locked in, so flavors don’t escape and meat stays juicy.
- The float valve lets you know when enough pressure has built so you don’t have to guess.
- The quick release valve helps you stop cooking exactly when you want, avoiding overcooked meat.
- Using thinly sliced chicken helps it cook evenly and speeds up the whole process.
- The intense steam breaks down connective tissues in chicken, making it juicy and tender real quick.
- Pressure cooking reduces hands-on time, so you can multitask or relax while your meal cooks.
Everything You Need Lined Up
- 500 grams boneless chicken, sliced thin so every bit cooks quick and juicy.
- 2 large onions, sliced thin for that perfect soft-sweet vibe.
- 3 tablespoons vegetable oil to get that nice sizzle going.
- 2 cloves garlic, minced to bring that punch of flavor.
- 1 teaspoon minced ginger, giving a fresh zing to the sauce.
- 2 tablespoons soy sauce for salty, savory depth.
- 1 tablespoon oyster sauce adds that subtle sweetness and umami kick.
- 1 teaspoon sugar, plus black pepper and chili flakes for mild heat and balance.
- Plus ¼ cup water to keep the sauce saucy but not watery.
- And don’t forget chopped green onions on top for fresh, crunchy garnish.
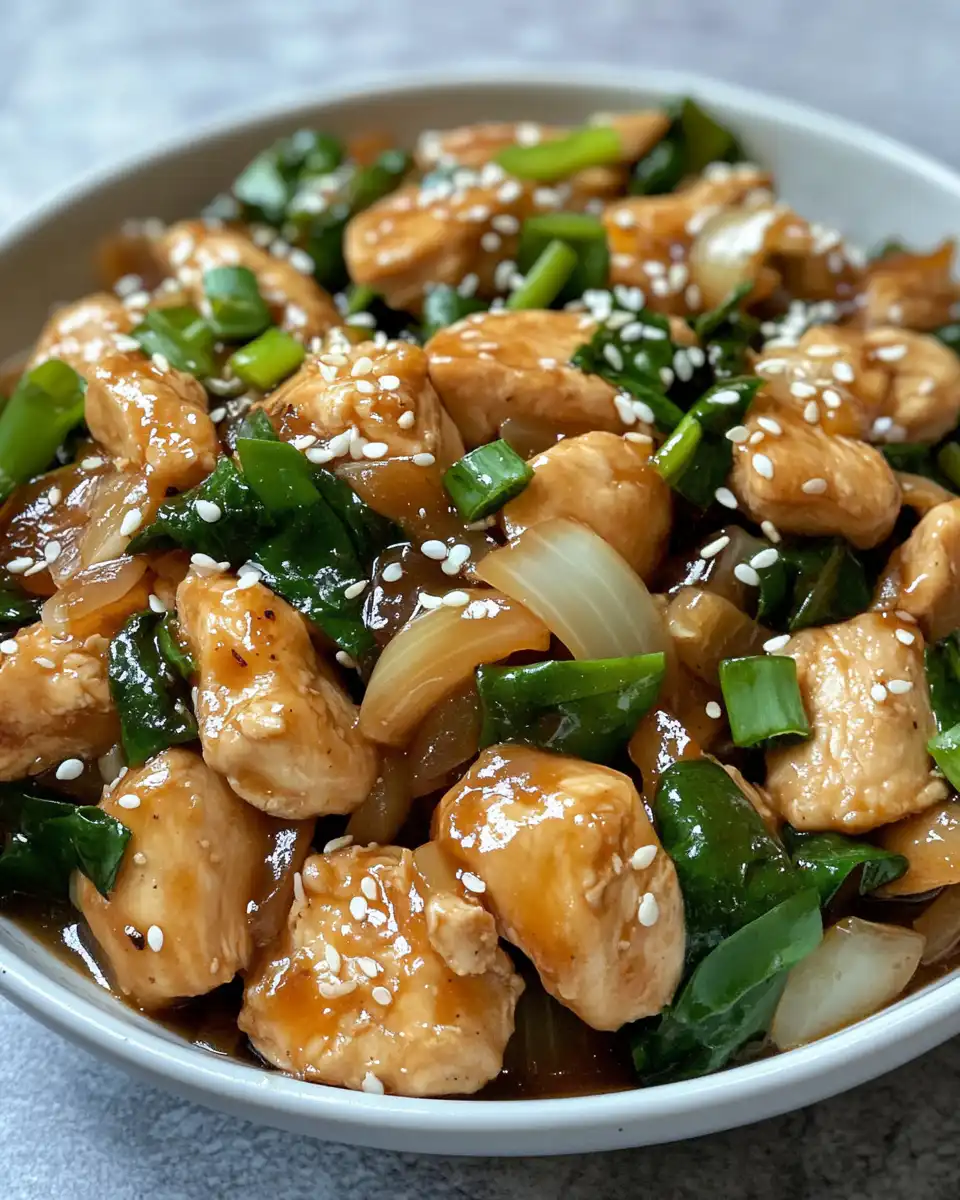
How It All Comes Together Step by Step
Step 1, you heat up that vegetable oil in your pressure cooker on the sauté setting. You don’t wanna rush this part cause getting the oil hot enough means that garlic and ginger smell gets really popping.
Step 2, toss in minced garlic and ginger, stirring them quick so they don’t burn but release all their flavor. It’s a quick flash of aroma that sets the scene.
Step 3, add sliced chicken right in. You stir-fry it just till it loses pinkness, not fully done yet but getting there. This keeps chicken juicy and tender after pressure cooks.
Step 4, throw in your sliced onions, giving ’em a stir for about 3 or 4 minutes so they start turning translucent and soft. They kinda melt into the chicken after this.
Step 5, mix soy sauce, oyster sauce, sugar, black pepper, chili flakes, and water in a small bowl. Pour this over the chicken and onions, making sure everything is well coated.
Step 6, lock the lid, making sure the sealing ring is seated right. You wait for the float valve to pop up, then adjust the heat to maintain pressure. Let it cook for about 4 minutes under high pressure—it’s just enough to get chicken tender but not mushy.
Step 7, do a quick release carefully, listen to that valve hiss as pressure lets off. Open lid when it’s safe and give everything a good quick stir. Sprinkle chopped green onions on top and it’s ready to serve with steamed rice or noodles.
Quick Tricks That Save Your Time
- Prep your onions and chicken night before or morning of to speed up cooking time.
- Use pre-minced garlic and ginger from a jar if you’re super pressed for time and wanna skip peeling and chopping.
- Double up the amount and freeze half in a meal prep container—reheat in pressure cooker for a fast dinner later.
That First Bite Moment
That first forkful hits your tongue and wow, you notice chicken soft and juicy like it soaked up all the savory sauce goodness. The onions bring a sweet contrast, slightly caramelized from cooking but still with a mild bite.
The flavors kinda dance together—the salty soy, hint of oyster sweetness, and a whisper of chili making your taste buds wake up. You really sense that home-cooked vibe with every mouthful.
Theres a warmth that kinda hugs you with each bite, perfect after a busy day but still feels special. That tender texture paired with bold flavors means this dish never gets old to you.
You can’t help grabbing seconds, proud you whipped this up fast but tastes like it took forever. Totally gonna make this again and again.
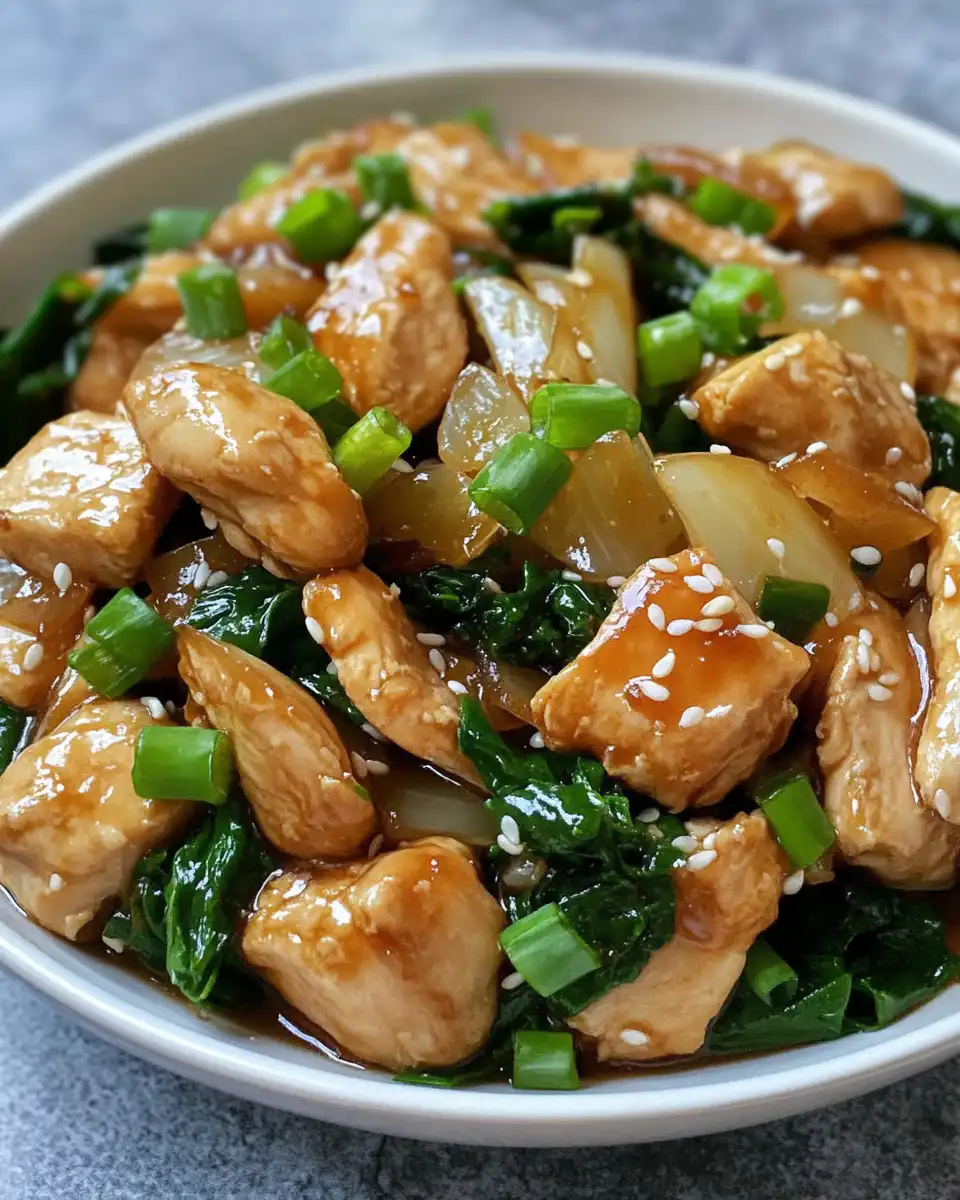
Keeping Leftovers Fresh and Ready
- Store leftovers in an airtight container in the fridge. It usually lasts good for 3 to 4 days.
- If you wanna keep it longer, pop it in the freezer. Just make sure it’s cooled before packing tightly.
- When reheating, you can use your pressure cooker on the sauté mode or microwave to warm gently so chicken stays moist.
- Adding a splash of water or broth when reheating helps keep sauce from drying out and keeps that tender texture intact.
What People Always Ask Me
- Can I use bone-in chicken for this? You sure can but cooking time might need to be a couple minutes longer cause bone slows heat penetration.
- What if I dont have oyster sauce? You can skip it or add a splash extra soy sauce and a pinch of sugar to balance flavors.
- Why does the float valve take time to pop up? It takes a bit for pressure to build up enough to lift it. Just wait a minute or two, it’ll pop up when ready.
- Can I double the recipe? Yes, but make sure not to overfill the cooker. Leave room so pressure can build safely and cook evenly.
- What’s the quick release? That’s when you carefully release pressure fast after cooking instead of waiting for natural release. Helps stop cooking instantly.
- How spicy is the chili flakes addition? Just a mild kick, you can leave them out or add more if you like heat.
For some other quick and tasty dinner ideas you might love, check out these recipes: Copycat Outback Baked Potato Soup, Apple Cider Vinegar Pulled Pork, or our flavorful Healthy Taco Casserole.
Pressure Cooker Chinese Chicken & Onion Stir Fry
Ingredients
Main ingredients
- 500 grams boneless chicken sliced thin so every bit cooks quick and juicy
- 2 large onions sliced thin for that perfect soft-sweet vibe
- 3 tablespoons vegetable oil to get that nice sizzle going
- 2 cloves garlic minced to bring that punch of flavor
- 1 teaspoon ginger minced, giving a fresh zing to the sauce
- 2 tablespoons soy sauce for salty, savory depth
- 1 tablespoon oyster sauce adds subtle sweetness and umami kick
- 1 teaspoon sugar
- to taste black pepper
- to taste chili flakes for mild heat and balance
- ¼ cup water to keep the sauce saucy but not watery
- as needed green onions chopped on top for fresh, crunchy garnish
Instructions
Instructions
- Heat vegetable oil in your pressure cooker on the sauté setting. Don’t rush this part to get the oil hot enough for garlic and ginger aroma.
- Toss in minced garlic and ginger, stirring quickly to prevent burning while releasing their flavor.
- Add sliced chicken and stir-fry until it loses its pinkness but is not fully cooked yet.
- Add sliced onions and stir for about 3 to 4 minutes until they start turning translucent and soft.
- Mix soy sauce, oyster sauce, sugar, black pepper, chili flakes, and water in a small bowl. Pour over chicken and onions, coating well.
- Lock the lid with sealing ring seated. Wait for the float valve to pop up, then maintain high pressure and cook for 4 minutes.
- Perform a quick release carefully, listen for the valve hiss to release pressure. Open lid when safe and stir.
- Sprinkle chopped green onions on top and serve with steamed rice or noodles.