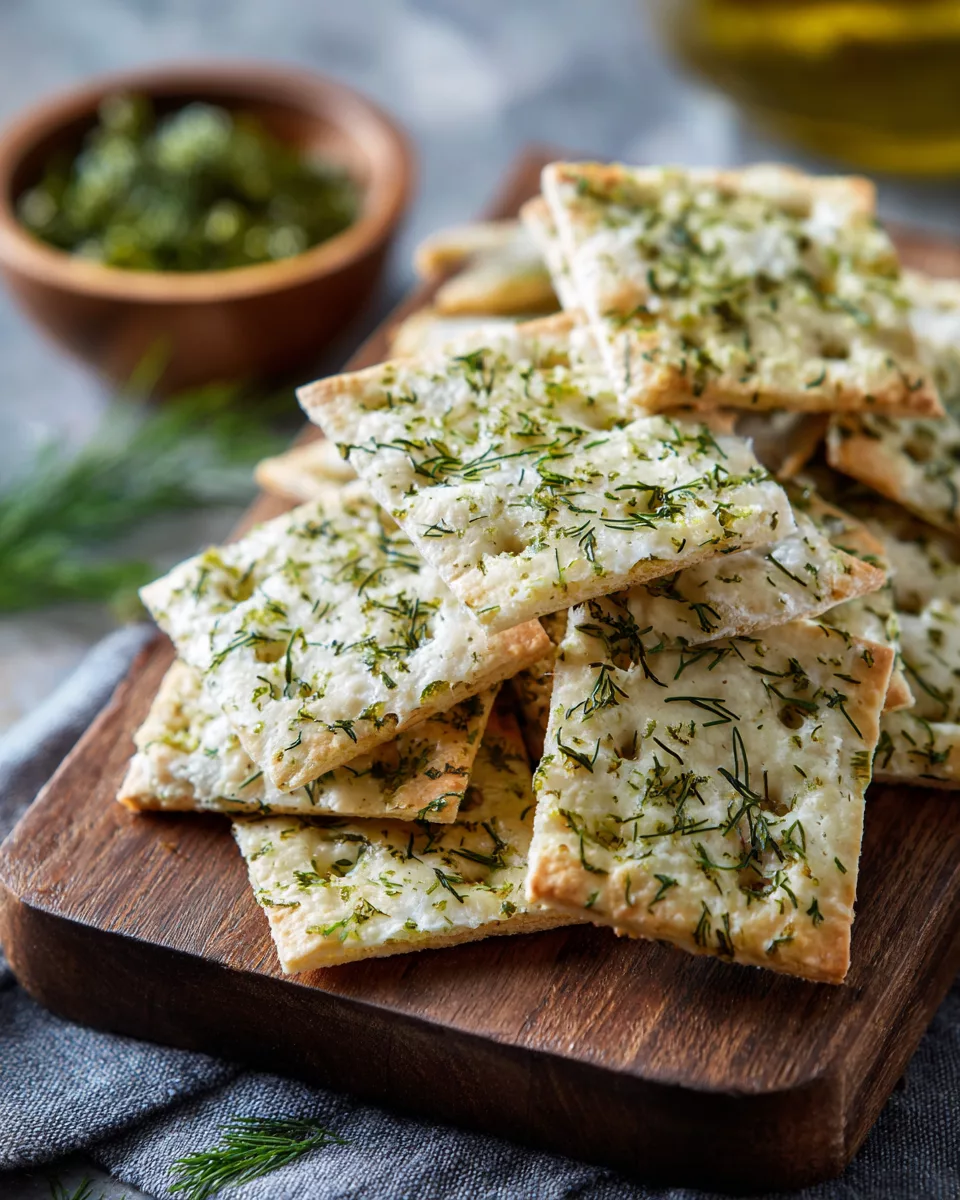
It was one of those hectic afternoons when I peered into my pantry and spotted a forgotten sleeve of saltines clutching onto a hint of dill pickle flavor. I was multitasking between folding laundry and stirring a pot of soup when my gaze locked onto those crackers. In that moment I realized a quick snack could transform this ordinary kitchen scene into something special. The idea sparkled that crunchy tang and simple pantry staples could become a game changer in minutes.
I grabbed that sleeve and laid out everything I needed on the counter saltines herbs olive oil garlic powder and a little grated cheese. I didnt expect to end up creating a snack that made me grin wide enough to surprise even myself. And once those Dill Pickle Flavored Saltines came out of the toaster they looked too good to resist so I knew youd want to give them a go too.
Why folks will dig it
- Big tangy dill pickle flavor packed into a crunchy saltine snack perfect for after school or midday munching
- Simple cooking method uses pantry staples and toaster or oven to get golden crisp results fast
- Customizable to personal taste you can crank up garlic powder chopped fresh dill or even a pinch of parmesan
- Fun appetizer for casual get togethers it blends snack style with a touch of trendy pickle cuisine hint
Grab bag ingredient rundown
- Saltines a plain cracker base that soaks up every bit of tang while staying crisp
- Olive oil a slick coating that helps seasoning stick and guarantees an even golden brown toast
- Dill pickle seasoning blend store bought or homemade combine dill weed garlic powder onion powder and a pinch of salt
- Grated parmesan cheese optional sprinkle for nutty depth and slight gooey crunch
- Fresh dill chopped toss on top after baking for an herby pop that feels really fresh
- Paprika or cayenne optional extra kick if you want a bit of spice with your tang
- Lemon zest a tiny whisper of citrus brightness that lifts the dill pickle flavor even more
Quickfire steps with whys
- Step 1, Preheat your toaster oven or regular oven to 375 degrees so every saltine crisps up just right while the seasoning bonds
- Step 2, Drizzle olive oil over crackers in a single layer this helps create a barrier that locks in flavor and ensures golden edges
- Step 3, Sprinkle dill pickle seasoning blend evenly I shake gently then tap off the excess to avoid clumps
- Step 4, Add parmesan cheese or paprika now if you want more depth it melts slightly and gives that extra dimension
- Step 5, Bake for six to eight minutes timing matters so they dont burn but get that perfect toasty finish
- Step 6, Remove and let cool a few minutes this helps the seasoning set and stops any soggy spots from forming
- Step 7, Finish with fresh dill or lemon zest if you like a pop of fresh herb or citrus brightness for contrast
Clutch shortcut tips
If you are in a real hurry swap olive oil for oil spray it cuts down on measuring time and produces an even coat.
Use a baking sheet with ridges this boosts airflow under crackers to cut baking time by a minute or two.
If you only have full pickles chop them finely stir into melted butter then brush over saltines for a quick DIY dill pickle blend.
Line your tray with parchment paper it makes cleanup a breeze so you can dive right in to snacking without fuss.
That first bite grin moment
I remember that exact moment when I bit into my first homemade Dill Pickle Flavored Saltines the tang of dill hit me first then the gentle saltiness of the cracker and finally that toasty crunch sealed the deal. My jaw swung open a little and I may of exclaimed a soft wow out loud which startled my cat who dashed off.
After that I knew these would become a staple whenever I needed a quick flavor fix. The mix of crisp texture and bold pickle hints served up more than just a snack it brought this goofy grin that made me feel playful right in the middle of my busy afternoon.
Chill serving ideas
Spread softened cream cheese on those Dill Pickle Flavored Saltines then top with a sliver of smoked salmon and a sprinkle of black pepper for an easy appetizer with a classy twist.
Pair them with a bowl of warm tomato soup let you dunk and crunch your way through a comforting lunch that balances tang and warmth.
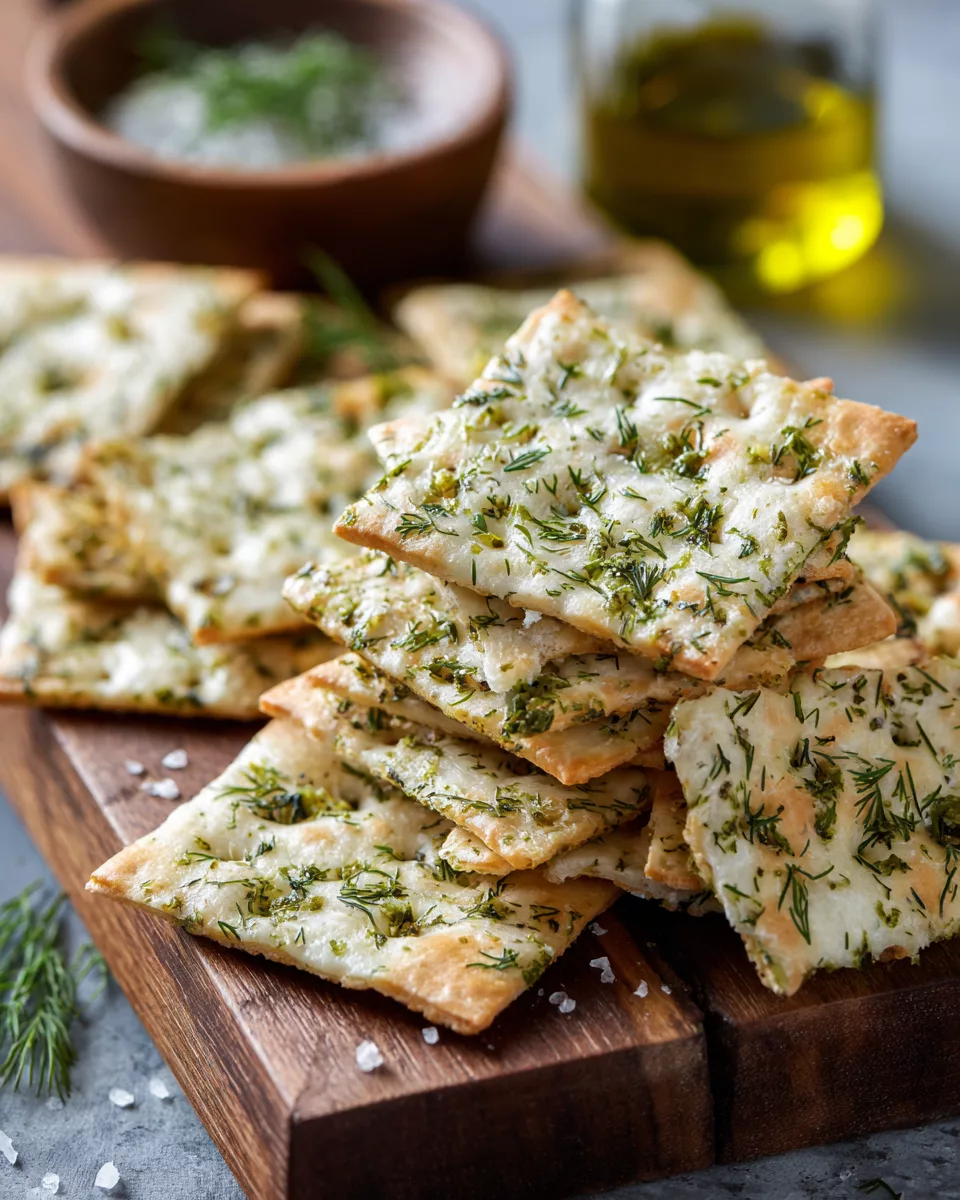
Line a platter with sliced veggies and cheeses then add these crackers on the side it turns any party into a snack feast that feels thoughtfully curated by you.
Leftover stash and reheat guide
After enjoying a fresh batch if you have leftovers let them cool fully then store in an airtight container or resealable bag to preserve crispness. Layering paper towels between crackers helps soak up any extra oil.
To reheat spread them on a baking sheet no stacking and zap in a 350 degree oven for about three to four minutes just long enough to perk back up without burning.
If you only have a toaster throw one or two in at low setting watch closely they come back to life fast. Avoid microwaving it makes them chewy and takes away that crunchy snack vibe we love so much.
Feel good wrap and faqs
I hope this rundown helps you whip up a batch of Dill Pickle Flavored Saltines next time you crave something crunchy tangy and ridiculously easy. Ive found that little upgrades like fresh dill or parmesan make all the difference but it truly works with the simplest pantry staples. Once you get the hang of the cooking method you can flip these into a snack station for movie nights or pop them into lunch boxes for a fun twist on plain crackers. Youre just a few steps away from wide eyes and big smiles around the kitchen table.
Q What if I do not have a toaster oven
You can use your regular oven it just takes a few more minutes and you want to keep an eye so they stay golden not dark brown.
Q Can I make this gluten free
Yes pick a gluten free saltine style cracker then follow the same steps for a tangy gluten free snack.
Q How do I store extra seasoning blend
Keep it in a sealed jar in your spice rack it stays fresh for a few weeks just stir before sprinkling.
Q Can I use fresh pickles instead of seasoning
You sure can chop them super fine mix with melted butter or oil and brush on crackers before baking.
Q Will these work cold right from storage
They taste best freshly reheated but you can munch them cold for a quick crunchy snack if you are on the go.

Dill Pickle Flavored Saltines
Equipment
- 1 large mixing bowl
- 1 measuring cups
- 1 measuring spoons
- 1 baking sheet
- 1 parchment paper optional
- 1 airtight container
Ingredients
- 12 oz Saltine crackers
- ½ cup vegetable oil
- 1 tablespoon dill pickle seasoning or dill weed Adjust based on desired dill flavor.
- 1 tablespoon onion powder
- 1 tablespoon garlic powder
- 1 teaspoon Worcestershire sauce
- 1 teaspoon kosher salt
- 1 teaspoon black pepper
- 1 tablespoon crushed red pepper flakes Optional for heat.
Instructions
- In a large mixing bowl, combine the vegetable oil, dill pickle seasoning, onion powder, garlic powder, Worcestershire sauce, kosher salt, black pepper, and crushed red pepper flakes (if using). Mix well to create a marinade.
- Gently add the Saltine crackers to the bowl. Using your hands, carefully toss the crackers in the marinade until well coated. Be gentle to avoid breaking the crackers.
- Once the crackers are coated, spread them out in a single layer on a baking sheet lined with parchment paper (if using).
- Let the crackers sit at room temperature for about 1 hour to allow the flavors to absorb. You can also cover them and let them rest in the refrigerator for a more intense flavor.
- After resting, transfer the Dill Pickle Flavored Saltines to an airtight container for storage. Enjoy your snack!