That first hiss from the cooker tells you something good is happening. You feel that mix of excitement and patience, knowing you cant just lift the lid right away. The valve hiss sounds like a promise that warm apple scents are getting ready to fill your kitchen.
You remember when baking took hours in the oven and you had to watch closely. Now your pressure cooker does the heavy lifting and you can almost just trust it. It sorta feels like cheating but in the best way possible.
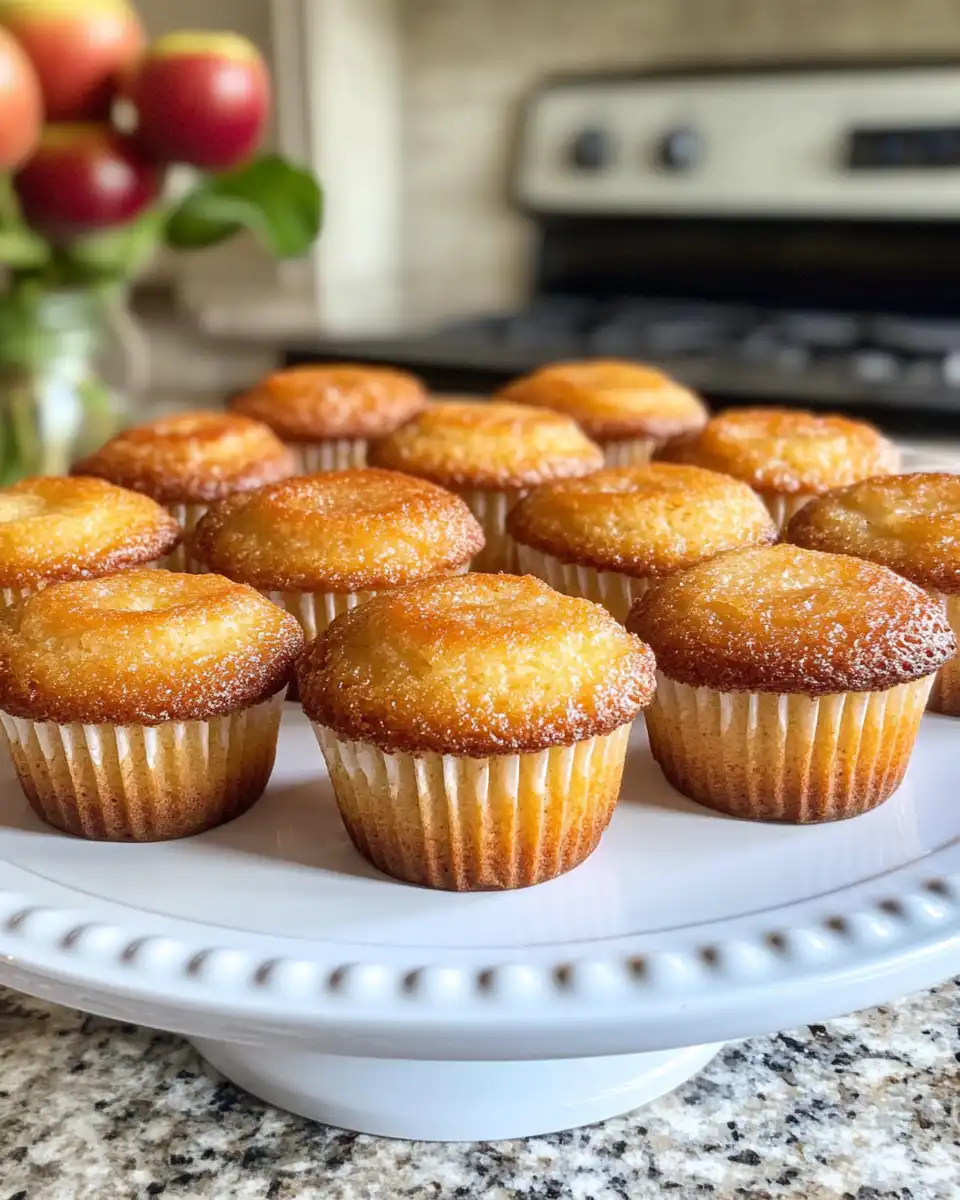
As the steam builds inside, you notice the sealing ring working its job tight and true. Its that little thing that helps make your mini apple cider cakes come out moist, luscious, and perfectly tender. You start thinking about that first bite, the crumbly edges with a tender center. Youre getting closer to a real treat.
Why This Recipe Works Every Single Time
- Using molasses and boiled cider brings deep flavors that remind you of cozy fall days.
- The brown sugar and apple pie spice combo adds just the right amount of sweet warmth.
- The batter is easy to mix by hand, no fancy tools needed.
- The small mini cake size cooks evenly and fast, no dry spots.
- The pressure cooker seals in moisture so your cakes stay soft even after cooling.
- Natural release helps keep the cakes from collapsing or drying out.
- A bit of Instant Clearjel in the frosting helps it hold shape when you dollop it on top.
Everything You Need Lined Up
You wanna start with 1 cup of packed light brown sugar for that caramel-y sweetness. Then you gotta add ⅓ cup of molasses which is gonna give the cake that rich, deep taste that just sings fall. Next, ⅓ cup boiled cider or thawed apple juice concentrate gives it that bright fruity zing.
Don’t forget ¾ cup vegetable oil for moisture and 2 large eggs, room temp is best so they mix better and make your cake fluffy. For dry, you need 3 cups of all-purpose flour (I use King Arthur brand), 2 ½ teaspoons apple pie spice for that warm kick, plus 1 teaspoon each of baking powder and baking soda to help the cakes rise nice and light.
Optionally, ½ teaspoon black cocoa adds a lovely color depth if you want that darker look. Also, ½ teaspoon table salt balances the sweetness. For liquid, ¾ cup water helps keep the batter tender and smooth. Then chop 2 ½ cups peeled apples finely so you get apple bits all through the cake.
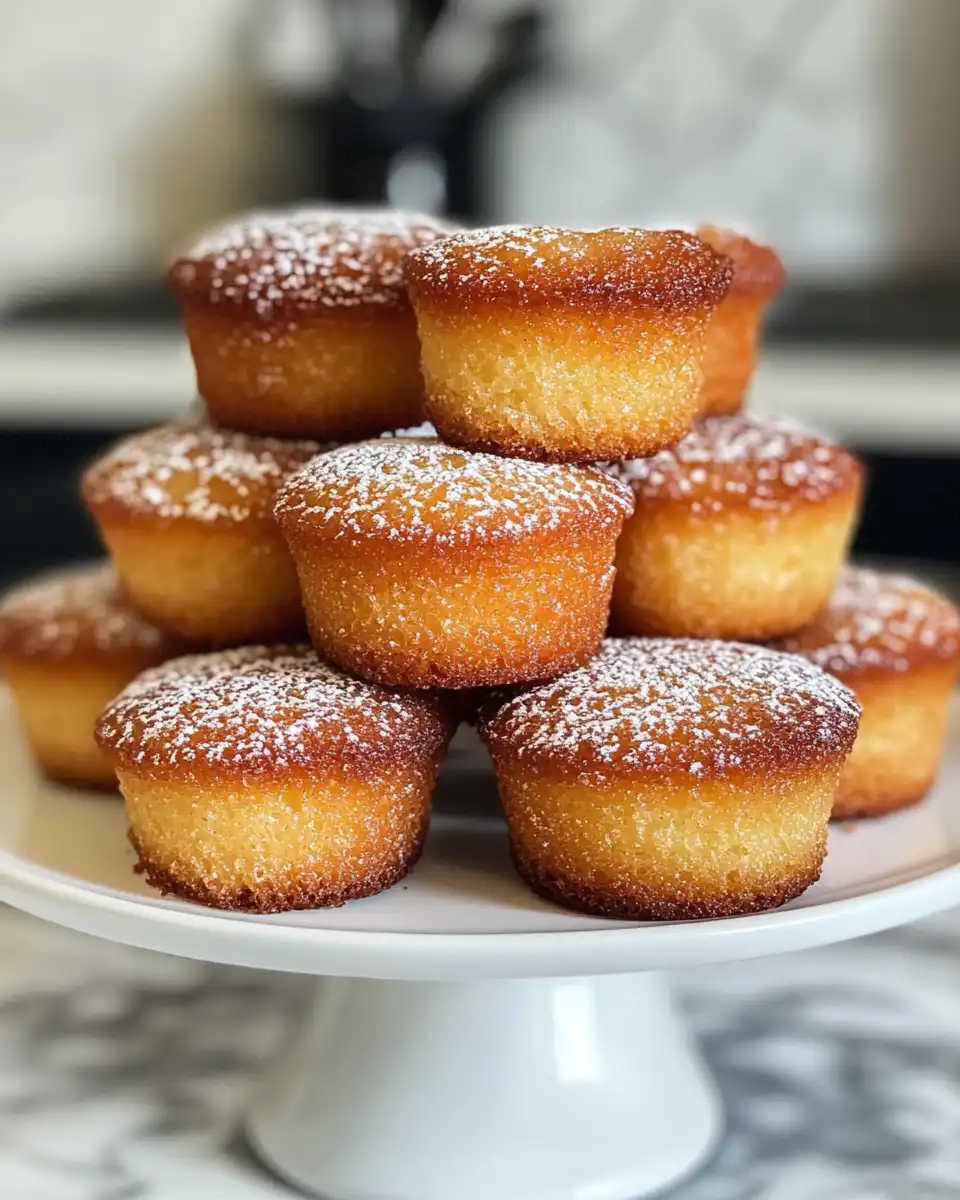
For frosting, sift ¾ cup confectioners’ sugar and whip 1 cup heavy cream. Plus, 8-ounce cream cheese softened to blend. Adding 1 teaspoon vanilla extract and optional lemon zest or lemon oil brightens the icing nice and fresh.
Your Complete Cooking Timeline
First, preheat your oven to 350 degrees Fahrenheit cause you’re gonna start those mini cakes there before the pressure cooker final step. Then in a big bowl, whisk brown sugar, molasses, cider, and vegetable oil together until smooth and combined.
Add eggs one at a time, beating well after each so the batter gets fluffy. In a separate bowl, sift flour, apple pie spice, baking powder, baking soda, and black cocoa if youre using it. Now slowly add these dry bits to the wet mix, stir until just combined but don’t overdo it or cakes get tough.
Grease your mini cake pans or line muffin tins, then pour batter to about two-thirds full so cakes have room to rise. Bake for 20-25 minutes until toothpick comes out clean. Let cakes cool in pans for 10 minutes, then move to wire racks to cool completely before frosting.
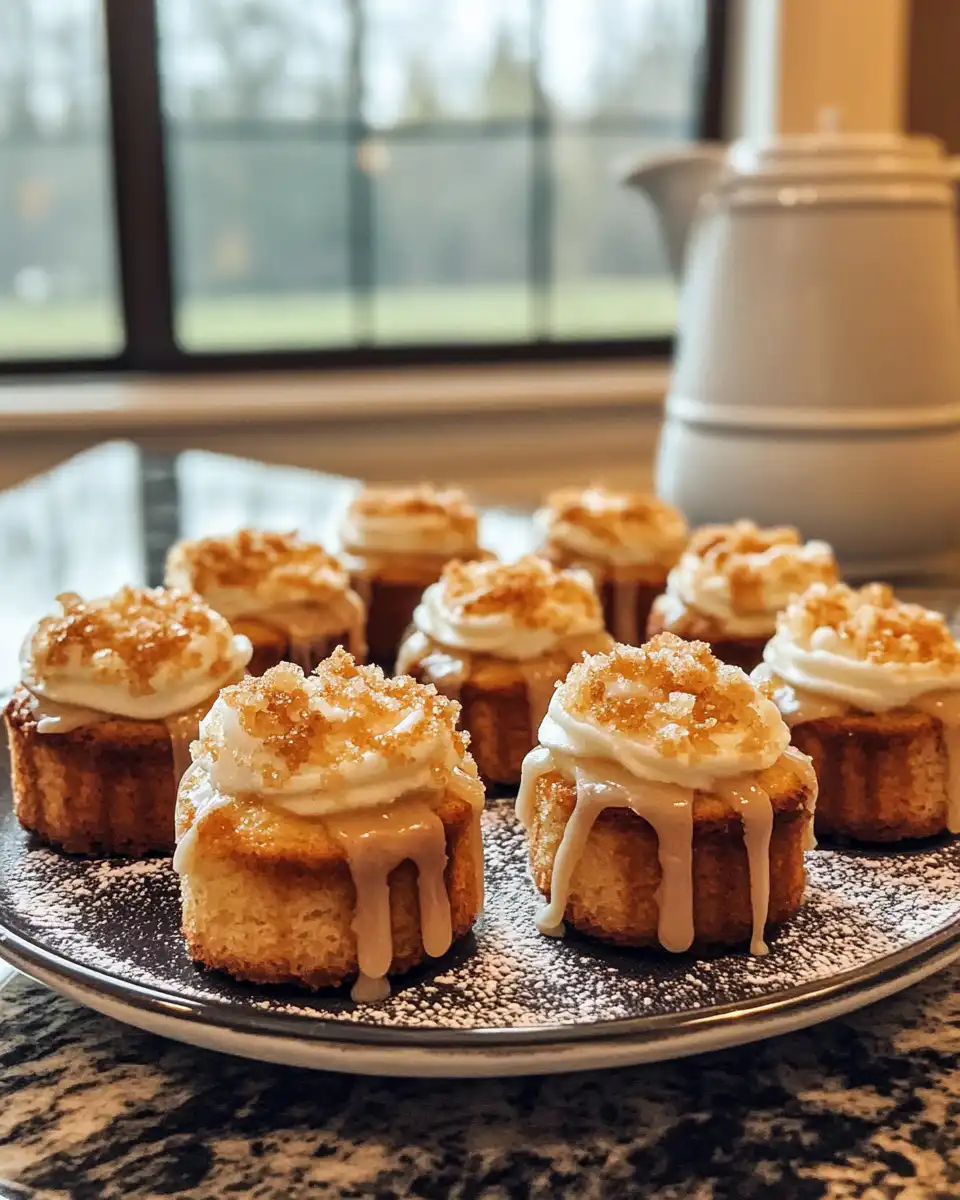
Next comes the icing. Whip cream cheese, heavy cream, confectioners’ sugar, vanilla, and lemon zest until thick and smooth. Dollop or pipe frosting on cooled cakes. For pressure cooker magic, place a trivet and bowl of water inside the cooker, then gently steam the mini cakes on natural release setting for a few minutes. This keeps them moist and soft.
When cooker valve stops hissing, do a slow release to keep texture perfect. Let the cakes chill a little if you like cooler treats. Then enjoy every bite of this warm, spicy, moist delight.
Easy Tweaks That Make Life Simple
- Use ready-made apple pie spice instead of mixing your own. It saves time and still tastes great.
- If you dont wanna peel apples, just finely chop unpeeled ones for a bit more texture.
- Try premixed boxed cake flour to speed up ingredient prep when you’re in a hurry.
- Swap heavy cream for a whipping cream blend if thats what you got; it still whips up nicely.
Your First Taste After the Wait
You bite in and first thing you feel is that soft, moist crumb full of warm apple cider hints. It kinda melts right in your mouth like those cozy fall afternoons you remember.
The brown sugar and molasses give a deep, sweet punch that balances with the tart apple pieces inside. You notice little bursts of spice sneaking in from the apple pie seasoning.
The frosting adds a creamy coolness that plays off the warm cake so heck yeah it all works real good together. The lemon zest cuts through just enough to keep it fresh and not too heavy.
That tiny cake size means you can eat a couple without feeling like you went overboard. You feel satisfied and cozy, ready to make these again and again.
Keeping Leftovers Fresh and Ready
If you got any mini cakes left, just keep them in an airtight container on your counter for up to two days. They stay super soft that way. You gotta make sure they cool completely before you stash them though.
For longer storage, pop them in the fridge wrapped in plastic wrap or sealed container. They’ll keep for about a week and you can bring them back to room temp before eating.
Want to freeze them? Totally possible! Wrap each cake tightly and store in a freezer bag. When you want one, just thaw in the fridge overnight or leave on the counter a couple hours. They still taste just as good.
Everything Else You Wondered About
- Can I use fresh apple cider instead of boiled? Yes, but boiled cider adds a thicker, sweeter taste that works better with brown sugar and molasses.
- Why natural release for the cakes? It prevents sudden pressure changes that can make cakes collapse or get dry edges.
- Is black cocoa necessary? No, it just adds color. Totally optional depending on the look you want.
- Can I swap cream cheese for something else in frosting? You could try mascarpone but it changes texture and tang slightly.
- How do I know when cakes are done in pressure cooker? Follow the baking time in the oven step first then steam briefly in the cooker to keep moist, not cook fully.
- What if my pressure cooker doesn’t have a sealing ring? You might get less steam and dryness may happen. Consider getting a replacement ring for best results.
Related Recipes To Try
For more cozy recipes using your pressure cooker, check out our Apple Cider Vinegar Pulled Pork known for its tender, flavorful slow cooking. Pair that with a fresh Spinach Salad With Bacon And Eggs for a balanced hearty meal. If you love fall-inspired sweets, try the delightful Bacon And Egg Empanadas recipe for another pressure cooker twist on a classic favorite.
Mini Apple Cider Cakes Pressure Cooker Recipe
Ingredients
Main ingredients
- 1 cup packed light brown sugar for caramel-y sweetness
- ⅓ cup molasses rich, deep taste
- ⅓ cup boiled cider or thawed apple juice concentrate bright fruity zing
- ¾ cup vegetable oil for moisture
- 2 large eggs room temperature
- 3 cups all-purpose flour King Arthur brand preferred
- 2 ½ teaspoons apple pie spice warm kick
- 1 teaspoon baking powder
- 1 teaspoon baking soda
- ½ teaspoon black cocoa optional for color depth
- ½ teaspoon table salt balances sweetness
- ¾ cup water to keep batter tender and smooth
- 2 ½ cups peeled apples finely chopped
Frosting ingredients
- ¾ cup confectioners’ sugar sifted
- 1 cup heavy cream whipped
- 8 ounce cream cheese softened
- 1 teaspoon vanilla extract
- to taste lemon zest or lemon oil optional, brightens the icing
Instructions
Instructions
- Preheat oven to 350 degrees Fahrenheit. Whisk brown sugar, molasses, boiled cider or apple juice concentrate, and vegetable oil together until smooth and combined.
- Add eggs one at a time, beating well after each addition to make the batter fluffy.
- Sift together all-purpose flour, apple pie spice, baking powder, baking soda, and black cocoa (if using).
- Slowly add the dry ingredients to the wet mixture, stirring until just combined; do not overmix.
- Grease mini cake pans or line muffin tins. Pour batter to about two-thirds full to allow cakes to rise.
- Bake for 20-25 minutes until a toothpick inserted comes out clean. Let cakes cool in pans for 10 minutes, then transfer to wire racks to cool completely.
- Whip cream cheese, heavy cream, confectioners’ sugar, vanilla extract, and lemon zest or oil until thick and smooth. Dollop or pipe frosting onto cooled cakes.
- For pressure cooker finish, place a trivet and bowl of water inside the cooker, gently steam the mini cakes on natural release for a few minutes to keep moist and soft. Slowly release pressure and chill if desired before serving.