You catch the smell through the steam vent and suddenly you are starving. The kitchen fills up with that kind of savory smell that pulls you closer to the cooker. It's kinda crazy how the scent sneaks in before the food is even done.
You remember the last time you made quesadillas and how it took forever to get everything just right. But this time, you got the pressure cooker doing half the work, and dang, it’s a game changer. The sealing ring does its thing, keeping all that steam inside, so your veggies and fillings soften up real nice fast.
Then you spot the float valve pop up, signaling the pressure build is just right and you know you're cooking on schedule. It’s like a little timer right there, telling you when the magic’s happening. Okay, I said no magic, but you know what I mean. After the natural release, your filling is tender without all the waiting and watching. You can almost taste it already as you brush on olive oil for that crispy finish.
The Truth About Fast Tender Results
- Pressure cooking cuts down time by sealing in heat and steam with the sealing ring, cooking fillings quick.
- Natural release lets the pressure slowly go away, keeping textures perfect without drying stuff out.
- The float valve is your built-in indicator to when pressure is reached so you don’t overcook.
- Using broth depth or a little water in the cooker helps veggies soften evenly, avoiding mushy bits.
- Combining sauté then pressure cook layers flavors better than just dumping everything in at once.
What Goes Into the Pot Today
- 1 tablespoon olive oil plus extra for brushing – gotta have that to keep everything slick and tasty.
- Half a yellow onion, diced - brings that sweet backbone to the mix.
- 1 red bell pepper, diced - for color and mild sweetness.
- 1 or 2 jalapeño peppers, cored and diced if you want a little heat in there.
- 3 to 5 cloves garlic smashed up - can’t go wrong with garlic for flavor.
- Quarter cup chopped cilantro - adds fresh green zing.
- Half teaspoon chili powder - for a little vibe and warmth.
- 16 ounces of prepared vegan taco meat, or swap it with crumbled tofu, tempeh, or seitan if you prefer.
- One 15 ounce can black beans, rinsed and drained - boosts the protein and texture.
- 16 ounces vegan Mexican or cheddar cheese blend - melts and holds everything together.
- 8 to 10 ten-inch flour tortillas – gotta wrap all that goodness up.
- Optional serving stuff like salsa, vegan sour cream, pico de gallo, and pickled jalapeños for topping.
How It All Comes Together Step by Step
Step 1, preheat your oven to 400 degrees Fahrenheit. This is for the sheet pan part later on.
Step 2, heat olive oil in a skillet over medium heat. Add diced onion and red bell pepper, sautéing till they're soft and smell great, about 5 minutes.
Step 3, toss in jalapeños and garlic, stir for about a minute until you can smell that garlic aroma coming off.
Step 4, stir in chopped cilantro and chili powder. This is where your filling starts to get that signature flavor vibe.
Step 5, in a big bowl, combine your sautéed veggies, vegan taco meat, black beans, and half of that vegan cheese. Mix it good so all the flavor’s spread out.
Step 6, brush a sheet pan with olive oil. Lay down half your tortillas on it evenly to start your quesadilla base.
Step 7, spread filling on top of tortillas, then put the rest of the tortillas over the filling like a sandwich. Brush the top with more olive oil and sprinkle the rest of the cheese on top.
Pop that pan in the oven and bake for 20 to 25 minutes till you see golden crispy edges. Let it cool before cutting into wedges, then serve with salsa, vegan sour cream, or whatever toppings you like.
Time Savers That Actually Work
- Use pre-made vegan taco meat or leftovers from a prior meal to cut down on prep.
- Sauté veggies in the pressure cooker using the sauté mode instead of using a skillet separately.
- Prep your toppings like cilantro and garlic in advance and stash them in the fridge.
- Grab pre-shredded vegan cheese so you skip grating time.
- Use a store-bought salsa and quick pickled jalapeños instead of making your own to save on time.
What It Tastes Like Fresh From the Pot
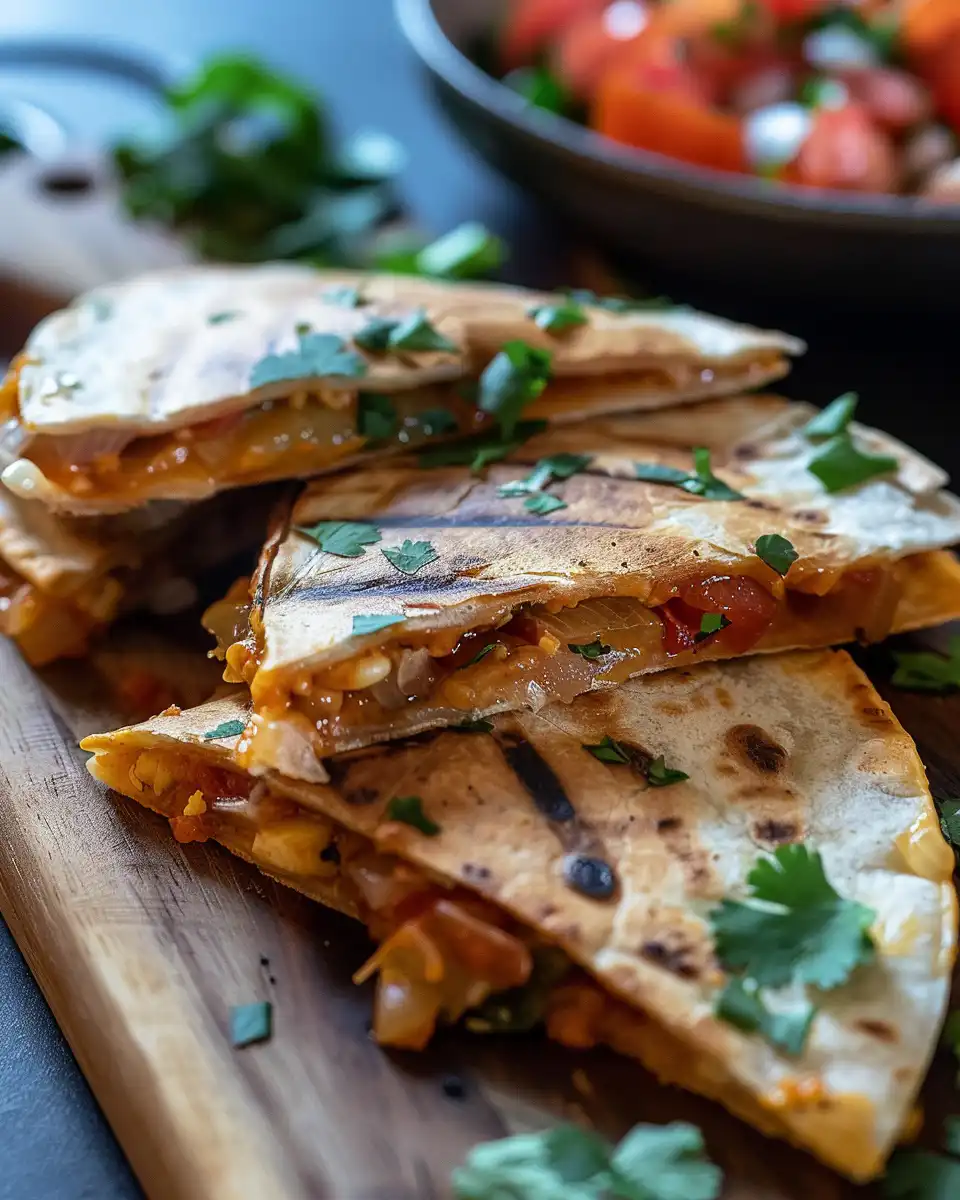
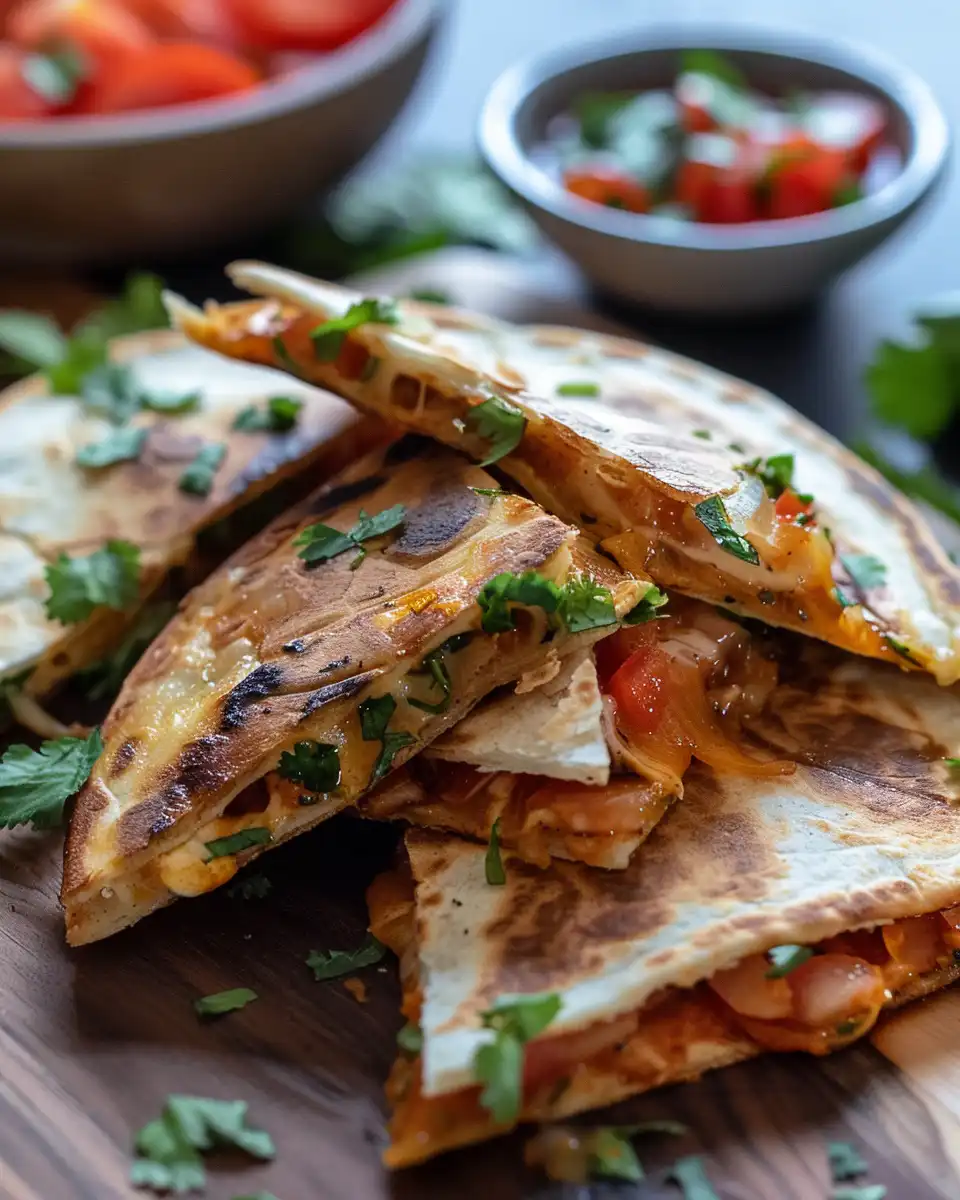
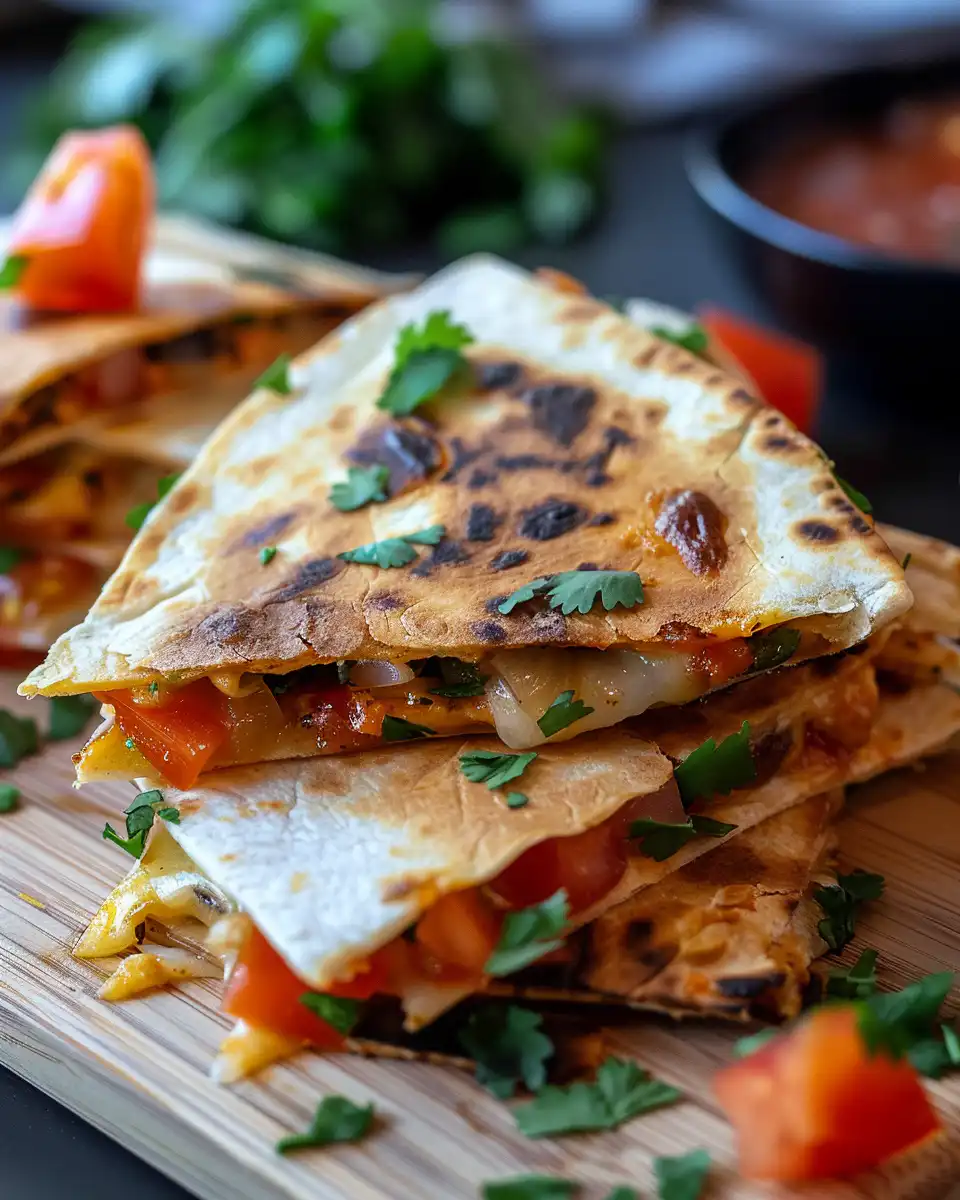
Right when you slice into these quesadillas, you get that crispy outside crunch that kinda flips your mood instantly. That olive oil brushing browns up the tortillas just right and gives a little nutty aroma.
Inside, the filling is juicy and tender. The sautéed veggies melt into the beans and taco meat with the cheese all gooey and stringy in that perfect vegan way. The chili powder gives a warm kick, and the cilantro adds fresh zing that’s like a breath of fresh air.
Every bite kinda feels like a fiesta in your mouth, combining spice, creaminess, and a little earthiness from the beans. You’re gonna wanna have all the dips ready because a spoonful of salsa or vegan sour cream makes each slice better.
Making It Last All Week Long
Store leftovers in an airtight container in the fridge and they’ll stay good for about 3 to 4 days. Warm 'em in the microwave or toss 'em in a skillet for a crispy redo.
For longer storage, wrap individual wedges tightly in foil and pop them in the freezer. When you wanna eat, just bake or microwave from frozen till hot.
If you wanna meal prep, cut and package your quesadilla wedges with some dipping sauce on the side in portioned containers. It works real good for quick grab-and-go meals during your busy days.
Your Most Asked Questions Answered
- Can I make this recipe without the pressure cooker? Yeah! You can sauté the veggies on the stove and assemble the quesadillas the same way. Just skip the pressure cooking step but your filling won’t be as tender as fast.
- What if I don’t have vegan taco meat? No worries, you can use crumbled tofu, tempeh, or even cooked lentils as a protein substitute. Just season them well with chili powder and garlic.
- Do I need to use natural release with this recipe? It’s best to do a natural release so your filling stays moist and tender. Quick releases might leave parts undercooked or dry.
- Can these quesadillas be made gluten-free? Sure can. Swap regular flour tortillas with your favorite gluten-free brand. The rest stays the same.
- How do I keep my tortillas crispy after baking? Brushing the tortillas with olive oil before baking really helps. Also, don’t cover the quesadillas right after baking, let steam escape so it stays crisp.
- Why does the pressure cooker need a sealing ring? The sealing ring keeps the pressure and steam inside the cooker. Without it, the cooker won’t reach pressure build and food won’t tender up right.
Vegan Sheet Pan Quesadillas in the Pressure Cooker
Equipment
- 1 Skillet Large
- 1 Baking sheet
Ingredients
Main ingredients
- 1 tablespoon olive oil plus extra for brushing
- ½ yellow onion diced
- 1 red bell pepper diced
- 1-2 jalapeño peppers cored and diced (optional)
- 3-5 cloves garlic
- ¼ cup chopped cilantro adds fresh green zing
- ½ teaspoon chili powder for a little vibe and warmth
- 16 ounces prepared Vegan Taco Meat or swap with crumbled tofu, tempeh, or seitan
- 1 15 ounce can black beans rinsed and drained
- 16 ounces vegan Mexican or cheddar cheese blend melts and holds everything together
- 8-10 ten-inch flour tortillas to wrap all that goodness up
Instructions
Instructions
- Preheat your oven to 400 degrees Fahrenheit. This is for the sheet pan part later on.
- Heat olive oil in a skillet over medium heat. Add diced onion and red bell pepper, sautéing till they're soft and smell great, about 5 minutes.
- Toss in jalapeños and garlic, stir for about a minute until you can smell that garlic aroma coming off.
- Stir in chopped cilantro and chili powder. This is where your filling starts to get that signature flavor vibe.
- In a big bowl, combine your sautéed veggies, vegan taco meat, black beans, and half of that vegan cheese. Mix it good so all the flavor’s spread out.
- Brush a sheet pan with olive oil. Lay down half your tortillas on it evenly to start your quesadilla base.
- Spread filling on top of tortillas, then put the rest of the tortillas over the filling like a sandwich. Brush the top with more olive oil and sprinkle the rest of the cheese on top.
- Pop that pan in the oven and bake for 20 to 25 minutes till you see golden crispy edges. Let it cool before cutting into wedges, then serve with salsa, vegan sour cream, or whatever toppings you like.