
The pressure builds and you start counting down minutes until you eat. It’s kinda funny how that little machine on your counter can make you this impatient. You grab your timer, set it, and suddenly every second feels longer than before.
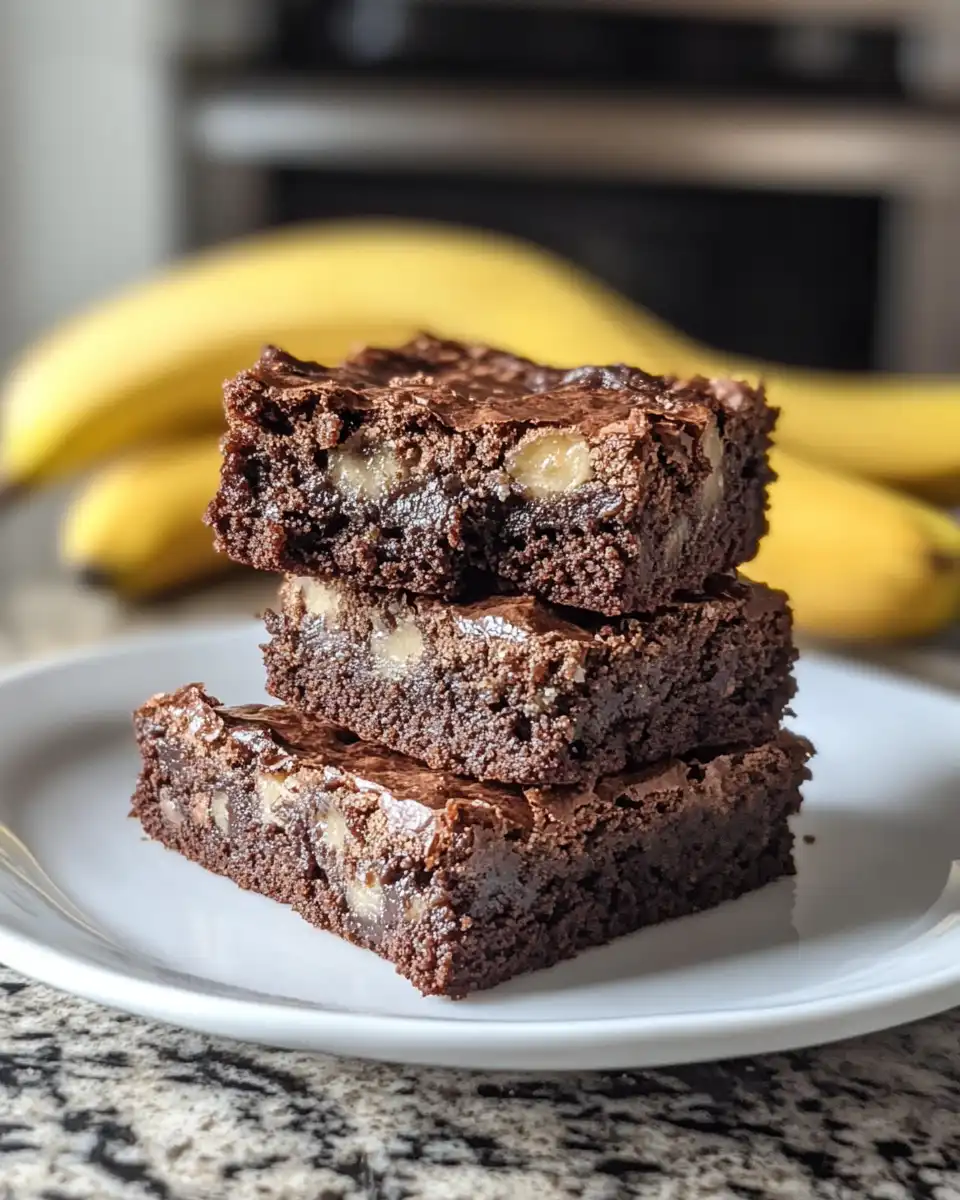
You recall the sweet smell of bananas mixing with spices and sugar, rising up in the kitchen as the sealing ring hums quietly. It’s like the whole house is waiting with you. You sense that warm, cozy feeling spreading even before the lid pops.
Then the pressure starts to build. The quick release valve gives just a little hiss. You know the brownies are coming along, all rich and moist, ready to melt in your mouth. You sneak glances, wishing you could speed the slow release up, but patience is key here.
What Makes Pressure Cooking Win Every Round
- It cuts down baking time big time so you get to your treat fast.
- You don’t have to heat up your whole kitchen like with the oven.
- Pressure locks in moisture, making your brownies super soft and chewy.
- You can multitask while it cooks because the cooker does all the hard work.
- The sealing ring keeps flavors from escaping, so every bite tastes fresh.
- Cleanup is easier since you only use the cooker pot and a few bowls.
- It’s pretty forgiving if you’re not the best baker yet or if your bananas are super ripe.
Your Simple Ingredient Checklist
Gather these things before you even turn on the cooker. You’ll need 4 just ripe bananas peeled. I gotta warn you, overly ripe ones got too much fructans and can mess with your tummy a bit.
Grab 1 cup granulated sugar and ½ cup melted butter or vegetable oil of your choice. The butter adds richness, but oil keeps it moist longer.
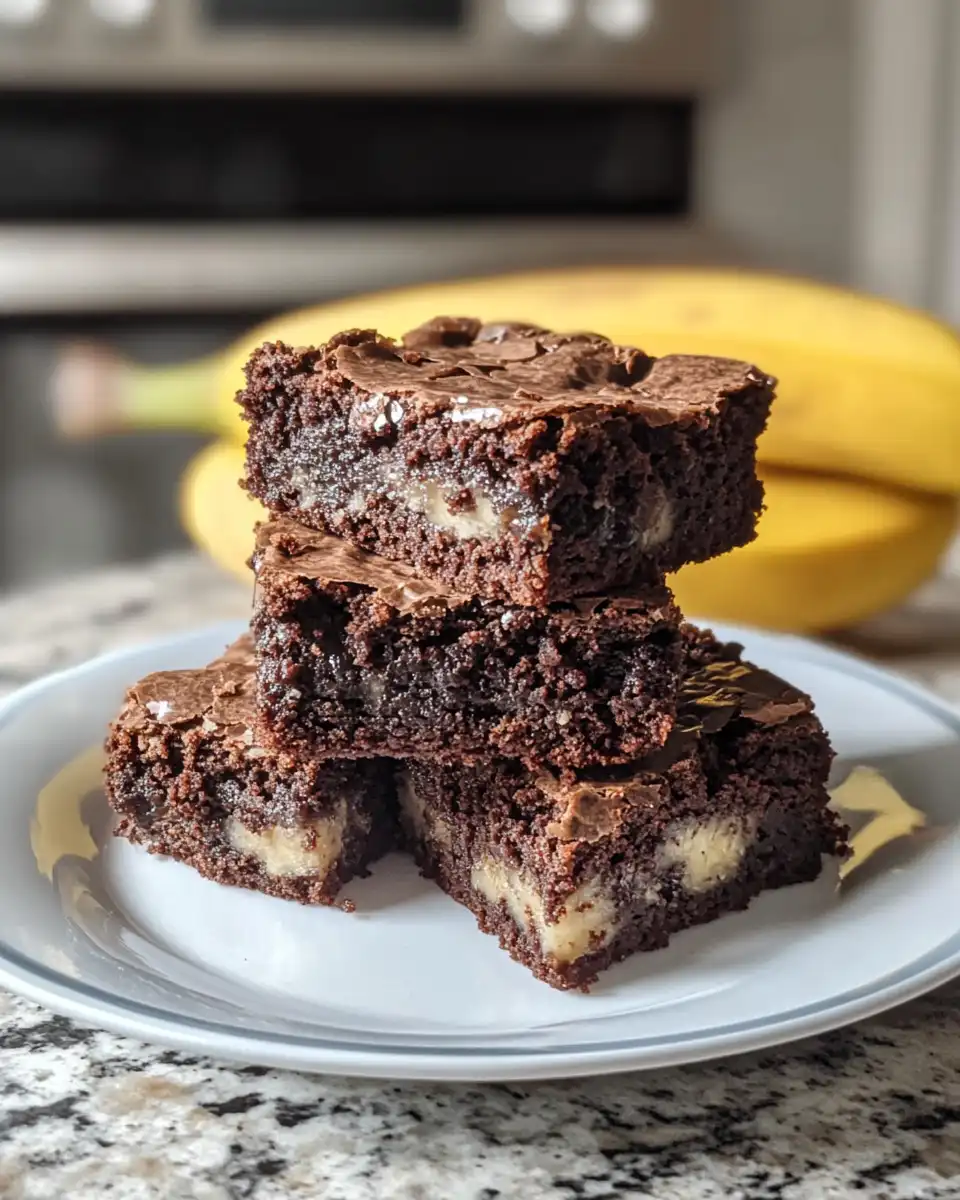
Chobani non fat plain Greek yogurt, about 6 ounces, brings some tang and moistness that works real good here. Then 1 teaspoon vanilla extract or paste, it’s all about that flavor boost.
Don’t forget 2 eggs to bind everything together. For gluten free baking, 2 cups gluten free flour is your friend. I like Trader Joe's gluten free all purpose flour myself.
Add 1 teaspoon baking soda for that nice lift and ½ cup chopped walnuts for a little crunch. And if you want the icing, get ½ cup butter, 2 ½ cups confectioner's sugar, a tablespoon of milk, and 1 teaspoon vanilla or vanilla paste.
How It All Comes Together Step by Step
First, don’t actually turn on the pressure cooker yet. You gotta prep like you do with oven baking. Grease a baking pan that fits inside your cooker or line it with parchment paper.
Next, mash your bananas in a big bowl until smooth. Then mix in the sugar, melted butter or oil, Greek yogurt, and vanilla. Stir it well so it’s all friends.
Crack in the eggs one by one, beating well after each. Once you got a nice sticky batter going, mix your gluten free flour and baking soda in a separate bowl.
Slowly add dry stuff to wet, stirring just enough to combine. Fold in those chopped walnuts like you’re tucking them in for a nap.
Pour the batter into your prepared pan. Smooth the top so it cooks evenly. Now, here’s the crucial part - place that pan inside the pressure cooker.
Seal the lid carefully, making sure the sealing ring is correctly set. Turn your cooker on and wait for the pressure build. Cook for about 25 minutes and then do a slow release to keep the brownies moist.
Once safe to open, carefully lift the pan out and let the brownies cool a bit. If you’re icing, spread on that frosting once cool enough so it doesn’t melt off.
Smart Shortcuts for Busy Days
Sometimes you gotta get dessert on the table fast. One quick hack is to mash bananas the night before and keep them covered in the fridge.
Also, you can measure out dry ingredients like flour and baking soda in zip bags ahead of time. Just dump them in when you’re ready to cook.
Using pre-chopped walnuts saves you a chopping step. But if you don’t got any, just toss ‘em whole in the batter and mash them up a bit while mixing.
Your First Taste After the Wait
That first bite wakes up all your senses. The warm banana sweetness wraps around your tongue like a cozy blanket.
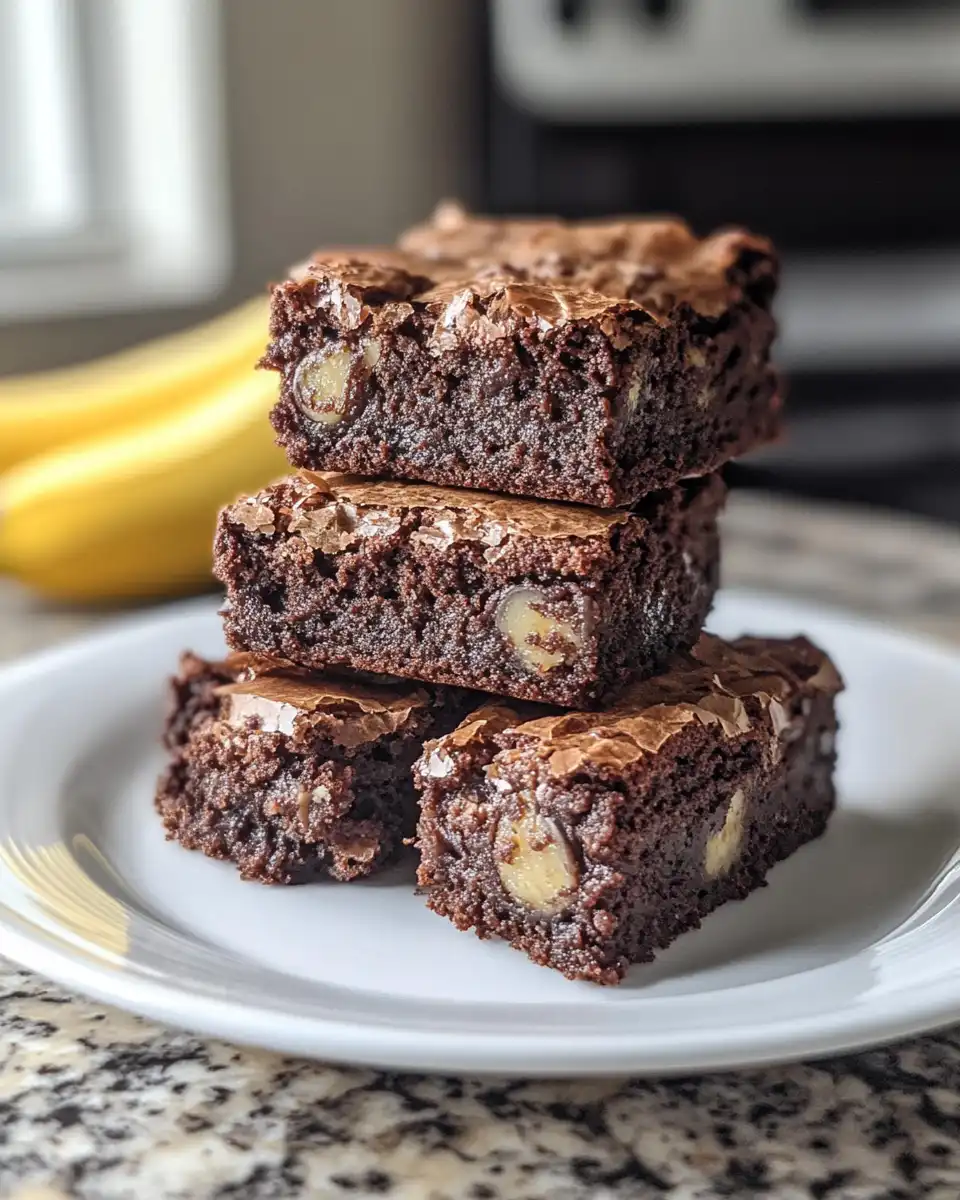
You notice the slight chew from the gluten free flour, perfect with little pops of walnut crunch. It’s kinda like the best parts of banana bread and brownies got mixed into one.
The icing, if you went for it, adds a creamy, sugary contrast that makes your taste buds dance. You sense why you waited so patiently.
As you take another bite, you feel thankful for your pressure cooker doing the tough work while you relaxed a bit.
How to Store This for Later
Leftovers happen, and this treat stays good if you store it right. Wrap your banana bread brownies tight in plastic wrap or foil to keep moisture in.
You can keep it in the fridge for about 4 to 5 days. Just bring it back to room temperature or give it a quick zap in the microwave before eating.
For longer storage, you can freeze the brownies. Slice them first, then wrap each piece well before popping in a freezer bag. Defrost overnight in the fridge or warm up on your countertop.
Your Most Asked Questions Answered
Can I use regular flour instead of gluten free? Yeah, you totally can. It might change the texture a bit but still yummy. Check out our gluten free baking tips for more info.
What’s the difference between quick release and natural release? Quick release means you let out the steam fast after cooking, while natural release means you wait for pressure to go down on its own. This recipe uses slow release to keep it moist. For other pressure cooker techniques, see our pressure cooker basics.
Can I skip the walnuts? For sure, just leave them out or add your favorite nuts or chocolate chips instead. Try some ideas from our nut free desserts collection.
Do I have to do the icing? Nope, your banana bread brownies are delish without it too.
How ripe is just ripe bananas? They’re still mostly yellow with a few brown spots but not mushy. That way you avoid too many fructans that upset your stomach.
My pressure cooker doesn’t have a slow release setting, what do I do? You can do natural release by just unplugging it and letting it sit till pressure drops or carefully do quick releases one at a time until safe.
Banana Bread Brownies in Your Pressure Cooker
Ingredients
Main ingredients
- 4 just ripe bananas peeled
- 1 cup granulated sugar
- 0.5 cup melted butter or vegetable oil your choice
- 6 ounces Chobani non fat plain Greek yogurt about
- 1 teaspoon vanilla extract or paste
- 2 eggs
- 2 cups gluten free flour Trader Joe's gluten free all purpose flour recommended
- 1 teaspoon baking soda
- 0.5 cup chopped walnuts optional, for crunch
- 0.5 cup butter for icing
- 2.5 cups confectioner's sugar for icing
- 1 tablespoon milk for icing
- 1 teaspoon vanilla or vanilla paste for icing
Instructions
Instructions
- Grease a baking pan that fits inside your pressure cooker or line it with parchment paper.
- Mash the bananas in a big bowl until smooth.
- Mix in the sugar, melted butter or oil, Greek yogurt, and vanilla. Stir well.1 cup granulated sugar, 0.5 cup melted butter or vegetable oil, 6 ounces Chobani non fat plain Greek yogurt, 1 teaspoon vanilla extract or paste
- Crack in the eggs one by one, beating well after each.2 eggs
- Mix the gluten free flour and baking soda in a separate bowl.2 cups gluten free flour, 1 teaspoon baking soda
- Slowly add dry ingredients to wet, stirring just enough to combine. Fold in the chopped walnuts.0.5 cup chopped walnuts
- Pour the batter into your prepared pan and smooth the top.
- Place the pan inside the pressure cooker. Seal the lid carefully.
- Turn the cooker on and wait for pressure to build. Cook for about 25 minutes and then do a slow release.
- Carefully lift the pan out and let the brownies cool a bit.
- If icing, spread on frosting once cool enough so it doesn’t melt.0.5 cup butter, 2.5 cups confectioner's sugar, 1 tablespoon milk, 1 teaspoon vanilla or vanilla paste



