
Why Your Candy Meter Says Win
- Caramelization warms up sugar molecules to a amber state around three hundred twenty degrees Fahrenheit when done right you get a rich nutty flavor and deep color yall its like edible sunshine
- Gentle slow simmer on a thick base pan spreads heat evenly preventing hot spots that burn the batch with uneven cooking you have less crystal formation and more chance for that perfect glaze to cling to your apples
- Monitoring temperature with a candy thermometer means you nail soft crack or firm ball stages exactly That precision is key for reliable Homemade Caramel Apples dont wing it or youll end up with a syrupy mess on your hands
- Adding a splash of acid like lemon juice or apple cider vinegar curbs crystal growth by breaking down sucrose molecules So you keep the caramel smooth ready to coat without grainy surprises its a small hack with big payoff
- Folding in a bit of cream or butter boosts your protein set so the mix sets up more gently giving you a chewy texture thats not too hard You taste the dairy fat mellow out the sweetness just right
Ingredient Roles Behind The Coating
- Apples work as sturdy handles and surface for coating crisp flesh gives you contrast of sweet caramel and tart snap plus they soak up just enough sweetness in each bite
- Granulated sugar forms the foundation triggering caramelization its structure lets you see color changes and drive flavor development while giving the mix its characteristic amber glow and sweet backbone
- Light corn syrup adds glucose that helps you avoid unwanted crystals it keeps the mix smooth so your Homemade Caramel Apples get a uniform slick finish instead of a gritty coating
- Butter brings fat that carries flavor deepens richness and smooths out the texture it assists in slow simmer heat transfer while making each bite taste velvety and more satisfying
- Heavy cream or half and half boosts protein set slows sugar hardening and adds a creamy chew you end up with a softer caramel that sticks good without cracking on your teeth
- Pinch of sea salt or table salt amplifies sweet notes tempers cloying sugar and highlights the buttery dairy profile giving your apples that contrast that keeps you reaching for another bite
- Fresh lemon juice adds acid to break down sucrose molecules halting crystallization and boosting shelf life it also helps the caramel cling tighter on the apple skin for an even coat
First Prep Moves For Sweet Coating
First you pick your apples choose firm ones like granny smith or fuji each has its own tart sweet vibe Then rinse each thoroughly under cool water pat them dry real good Any leftover moisture makes the caramel slide right off so dont skip that part Have your surface ready before you fire up the stove
Next grab some sturdy sticks pop them into the stem end of each apple The handle gotta be snug so you can swirl without losing grip Then lay a sheet of parchment or a silicone mat on your pan This keeps the apples from sticking and makes cleanup less of a chore
Measure out your sugar and corn syrup in a tall straight sided pot set close to your heat source Also keep the cream butter and salt right beside you Pre measuring helps you move fast when the sugar starts melting You dont wanna be scrambling for ingredients mid simmer or youll risk a hard fall in your batch
Getting A Flavor Check
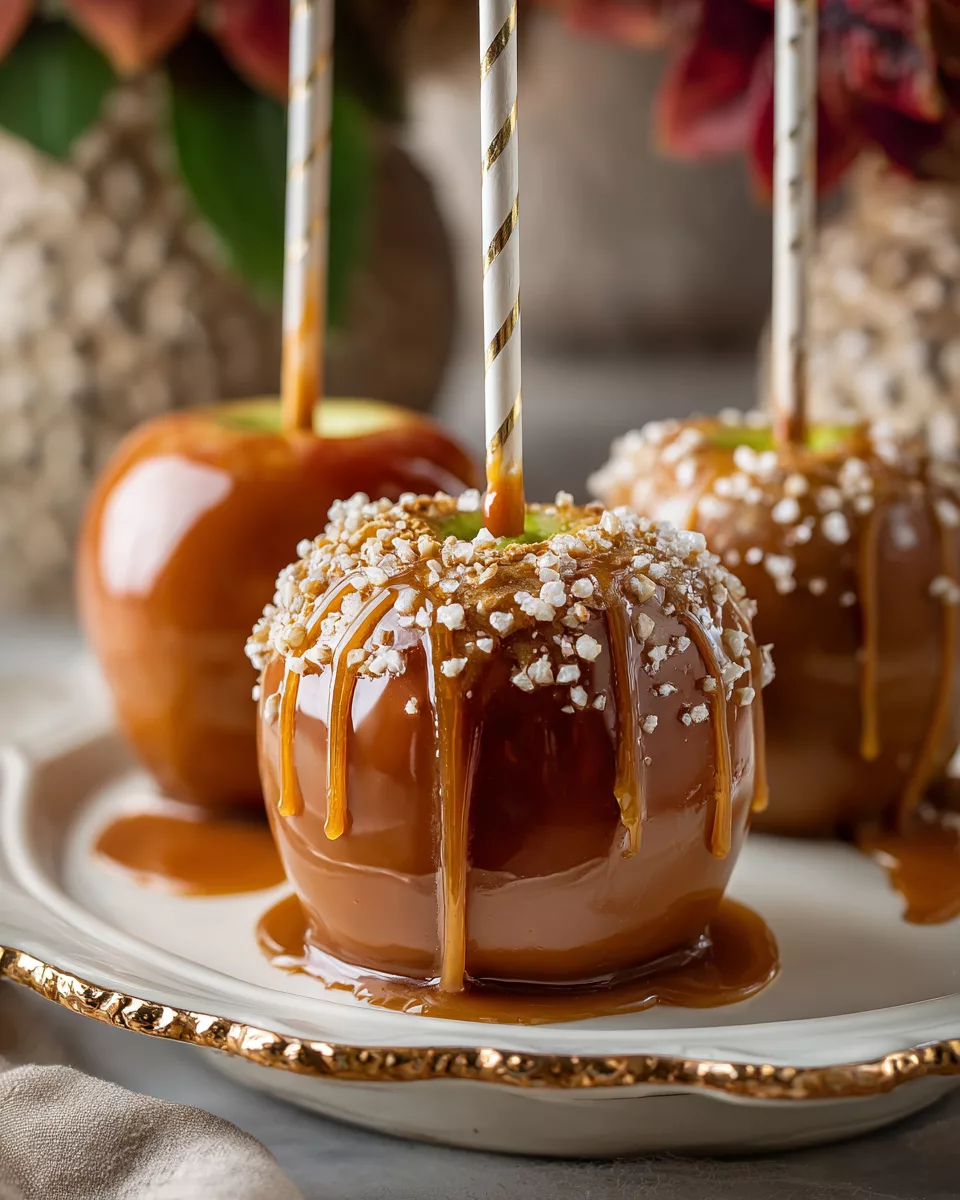
When you finally dip and swirl and the caramel clings smooth you set that apple on a rack or on wax paper Then you wait just a minute to cool but not too long that it forms a rock solid shell You go for it with a big bite and hear a little crack as caramel meets crisp flesh yall
That moment when you taste the rich butter sugar blend with a hint of salt you feel the work of caramelization and protein set in your mouth combined with the fresh tart juice of the apple Its dang satisfying youll taste fine balance of sweet bitter and tang Sometimes its nearly perfect on the first go
Cooking Moves Part Two
Place your pot over medium heat and pour in sugar corn syrup and a pinch of salt dont stir right away just let the edges melt Listen for the bubbling to calm that tells you crystals are broken After a minute you can stir gently from the bottom to coax more melting This slow simmer keeps your mix uniform
Once the mixture hits around three hundred twenty degrees Fahrenheit pull it from the heat and stir in butter and cream right quick The protein set starts when the dairy meets the hot syrup dont over whisk or youll break the emulsion Make sure your spoon scrapes the sides so no sugar sticks and burns its a fine line
Let the caramel cool for a few breaths till it thickens enough to coat the apple without dripping like water Then dunk each apple swirl it around so its covered top to bottom If it seems too runny just wait a touch longer or dip twice for a thicker layer Its a learn by doing kind of deal
Nerd Handy Notes
Humidity is your sneaky enemy if the air is too wet your sugar can pull moisture and turn grainy Try to make your batch on a dry day or turn on the air conditioner That also helps you hit the right boiling point Dont forget altitude affects that reported three twenty degrees too if youre at high altitude expect to add a few degrees for the same chemistry
Use a heavy bottom pot its more forgiving spreads heat evenly and avoids scorching you can also warm your apples slightly so they dont drop the temp on your caramel Then wipe off any water from the apple surface or youll watch the coating slide off Those are small nerd handy tips thatll keep you from a total facepalm in the kitchen
Simple Plating Ideas
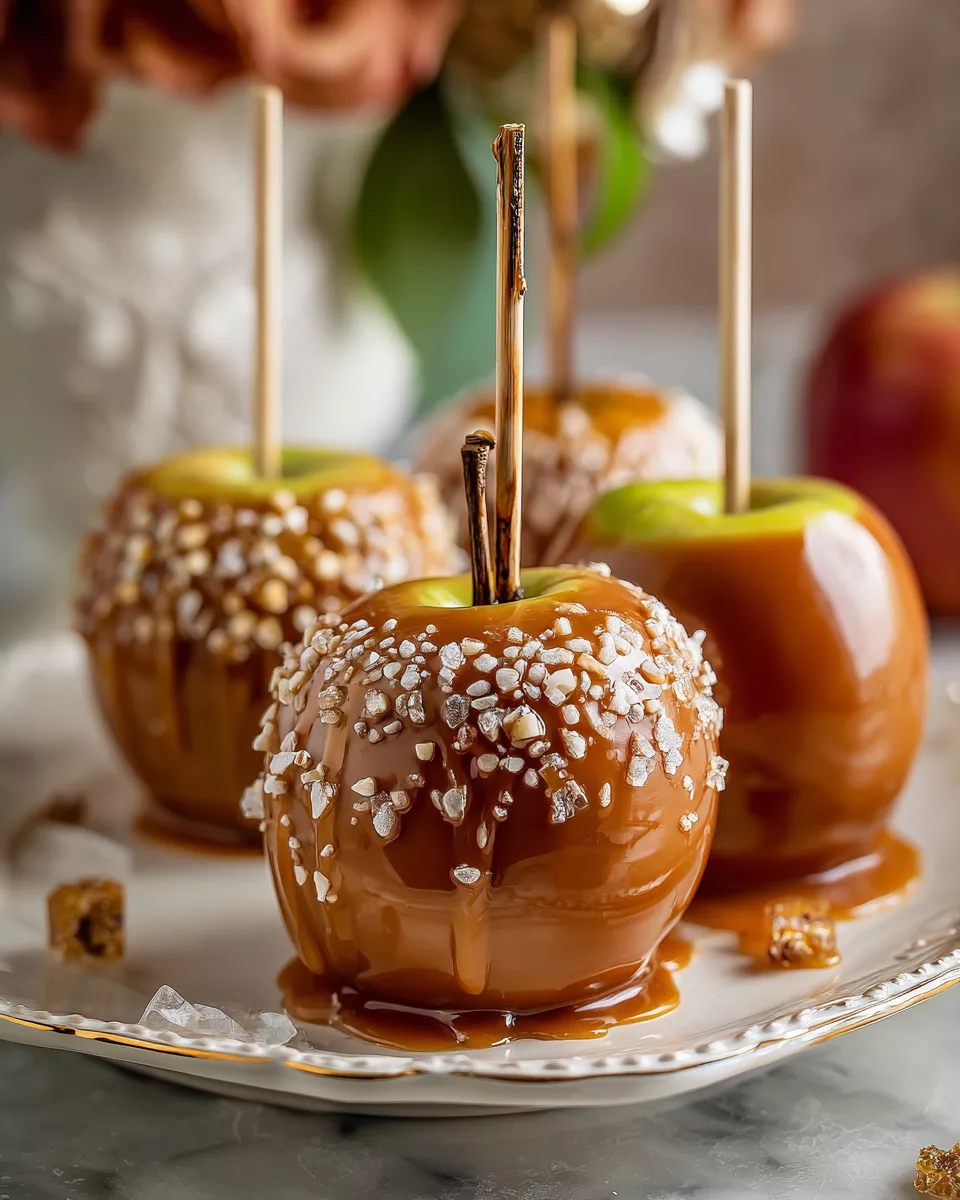
Set out a wooden serving board or a rimmed platter its perfect for grabbing and sharing Line it with wax paper or decorative parchment Then arrange your Homemade Caramel Apples in a staggered row alternating apple varieties if you used granny smith gala or fuji This gives yall that colorful vibe and shows off the glossy coating ready to eat
Add small dishes of cinnamon sugar crushed nuts shredded coconut or mini chocolate chips around the apples let folks customize each bite Those little bowls make the experience interactive and fun Especially for parties or fall gatherings Its dang cute and practical if you even add small skewers so everyone can grab with no sticky fingers
Fun Variable Tweaks
You can change up the base by swapping plain sugar for brown sugar for a deeper molasses vibe The swap speeds up caramelization and gives you a darker color Remember you might need to adjust your temp a bit since brown has more moisture
For an electric buzz stir in a pinch of sea salt smoked paprika or cayenne if you want a sweet spicy kick That little heat pull brings out hidden flavor in the sugar and plays against tart apple juice Really fun for a crowd that likes a kick
Want chocolate dipped apples Drizzle melted dark or milk chocolate over the finished caramel once its set just a little swirl You could even roll the warm apple in crushed pretzels peanuts or crushed candies before it fully chills The variations are endless so you always keep yall on your toes
Storage Data Notes
Store your Homemade Caramel Apples in a cool dry spot but not the fridge moisture makes the caramel weep and lose that crisp look If you do chill them place a sheet of parchment paper between each layer so they dont stick together They keep good for about three to five days before the fruit starts to soften and lose its firm snap
If you need to make them ahead wrap each apple loosely in wax paper then tuck them into an airtight container at room temp ideal is about sixty five to seventy degrees Fahrenheit Avoid direct sun heat or humid rooms or youll watch the caramel melt or sweat Use them up fast though or the apples go limp and mealy its no fun
Final Takeaway For Your Batch
By now you see Homemade Caramel Apples are part art and part science You harness caramelization slow simmer precision and protein set technique to create that ideal pull away coating bursting with sweet buttery flavor Once you nail the temperature stage and respect each ingredient job you toss aside most guesswork It aint perfect every time but thats part of the fun This simple recipe invites you experiment with flavor tweaks and enjoy a little kitchen mayhem So gather your apples sugar butter cream and your candy thermometer then get ready to impress family and friends with your glossy tasty creations Serve them at your next fall bash or as a sweet gift everyone will talk about for days
Science FAQs
Why does my caramel slide off the apple?
When your apple is wet or too cold the caramel wont cling moisture cools the sugar too fast clean and dry fruit warms slightly helps adhesion Also make sure your caramel isnt too hot or too cold when you dip Warm it to dimmed drip consistency for best cling
How do I stop the sugar from getting grainy?
A little acid like lemon juice or vinegar breaks down sucrose molecules preventing recrystallization Dont stir until edges melt and crystals dissolve Then stir gently check for any sugar bits on pot walls wipe them before heating too high Steady slow simmer keeps the mix smooth
Can I add other flavors into the caramel?
You sure can fold in extracts cinnamon or even cocoa powder after you remove the pot from heat Just mix in while the syrup is hot but not boiling The added flavors infuse quickly but too much liquid extract can change texture experiment in small batches first
Whats the best way to reheat leftover caramel?
Gently warm your leftover caramel in a double boiler or a thick pot over low heat Avoid high direct heat It helps maintain smooth texture If it thickens add a splash of cream or butter then stir until you get that slow simmer consistency
Homemade Caramel Apples
Equipment
- 1 Candy thermometer
- 1 Medium saucepan
- 1 Wooden spoon
- 1 Baking sheet
- 1 Parchment paper
- 8 Wooden sticks or popsicle sticks
Ingredients
- 8 medium apples Firm variety like Granny Smith or Honeycrisp.
- 2 cups granulated sugar
- ½ cup unsalted butter
- 1 cup light corn syrup
- 1 teaspoon vanilla extract
- ¼ teaspoon salt
- varies as desired optional toppings crushed nuts, sprinkles, chocolate drizzle.
Instructions
- Wash and dry the apples thoroughly. Remove any wax if necessary by rubbing them with a cloth. Insert a wooden stick or popsicle stick into the top of each apple and set them aside.
- Line a baking sheet with parchment paper. This will be the surface where the caramel-coated apples will cool.
- In a medium saucepan over medium heat, combine the granulated sugar, unsalted butter, light corn syrup, and salt. Stir continuously until the butter melts and the mixture is smooth.
- Attach a candy thermometer to the saucepan and continue to cook the mixture without stirring until it reaches a temperature of 240°F (115°C) to achieve the soft-ball stage.
- Remove the saucepan from heat and stir in the vanilla extract. Allow the mixture to cool slightly for a few minutes until it thickens slightly.
- Dip each apple into the caramel, swirling to coat the apple evenly. Allow any excess caramel to drip off before placing the apple on the prepared baking sheet.
- If desired, sprinkle the coated apples with crushed nuts or sprinkles while the caramel is still warm. For a fancier touch, drizzle melted chocolate over the caramel once set.
- Let the caramel apples cool completely at room temperature for about 30 minutes before serving. Optionally, refrigerate them to firm up the caramel further.



