When I set out to make KFC Style Gravy I wanted that warm comfort in every spoonful. I remember my neighbor leaning over the fence telling me that heat shapes the flavor more than any secret spice. So I paid extra close attention to every bubble in the pan. I kept nudging myself to recall why a slow simmer matters and how Maillard browning gives depth.
There’s something satisfying about stirring a creamy sauce that coats a roast or biscuits just right. I check the temperature often because protein rest and low and slow simmer are key. The aroma drifting through the kitchen made me stop and reflect on how caramelization of the little browned bits really brings home that classic diner feel.
The Warm Heart Of Gravy Science
The trick to great KFC Style Gravy starts with how you handle heat. You cant rush the process. It begins by toasting flour gently in fat until it turns a light tan. Thats where Maillard browning whispers depth into the mix. If you crank the stove youll risk burning the flour and spoiling the whole batch.
Once the roux is set you pour in stock slowly so lumps dont form. The idea is a slow simmer where the gravy thickens without boiling over. Low and slow is more than a phrase its a method that tames the sauce. I remember how my neighbor asked me to watch the flame closely. That nudge helped me slow way down and notice each swirl of steam.
Your Pantry Crew In A Row
Before you get to the stove its best to have your players lined up. Here is what I used to nail that rich piping hot sauce.
- All Purpose Flour Its the thickener in the roux you toast gently.
- Butter Or Drippings Use fat from roasted chicken or plain butter for flavor.
- Chicken Stock Warm stock helps avoid lumps during the slow pour.
- Milk Or Cream Adds richness and softens the taste when you add it off heat.
- Black Pepper Freshly ground gives a sharp finish.
- Salt Just enough to bring out the flavors dont overdo it.
- Garlic Powder Optional but it sings background notes.
- Onion Powder Helps fill out the savory profile without chunks.
Having everything together makes the cooking flow smooth. Im always surprised when I skip a spice and then have to pause midcook to grab it. Dont let that happen to you.
Chop And Measure Prep Zone
I like to start by setting my burners to medium low so the pan stays at a gentle toast. I find that measuring every ingredient before you begin saves time and brain power. You want to avoid last minute scrambles.
Next I dust flour on a small plate and scoop half of it in a bowl. Then the remaining goes on another. This way you can test toast color at two stages. Its a small step that helps me catch things before they go too dark.
Aroma Rising With Every Stir
The moment the flour hits the warm fat you notice a nutty smell. Thats caramelization and Maillard browning at work. Dont let the heat climb too fast or the fragrance turns bitter.
I keep my spoon moving in a circular sweep. Its fun to see the mixture go from pale to light brown. The smell in the kitchen is enough to make you pause and breathe it in. Thats when I know I got it right.
Midway Taste And Texture Check
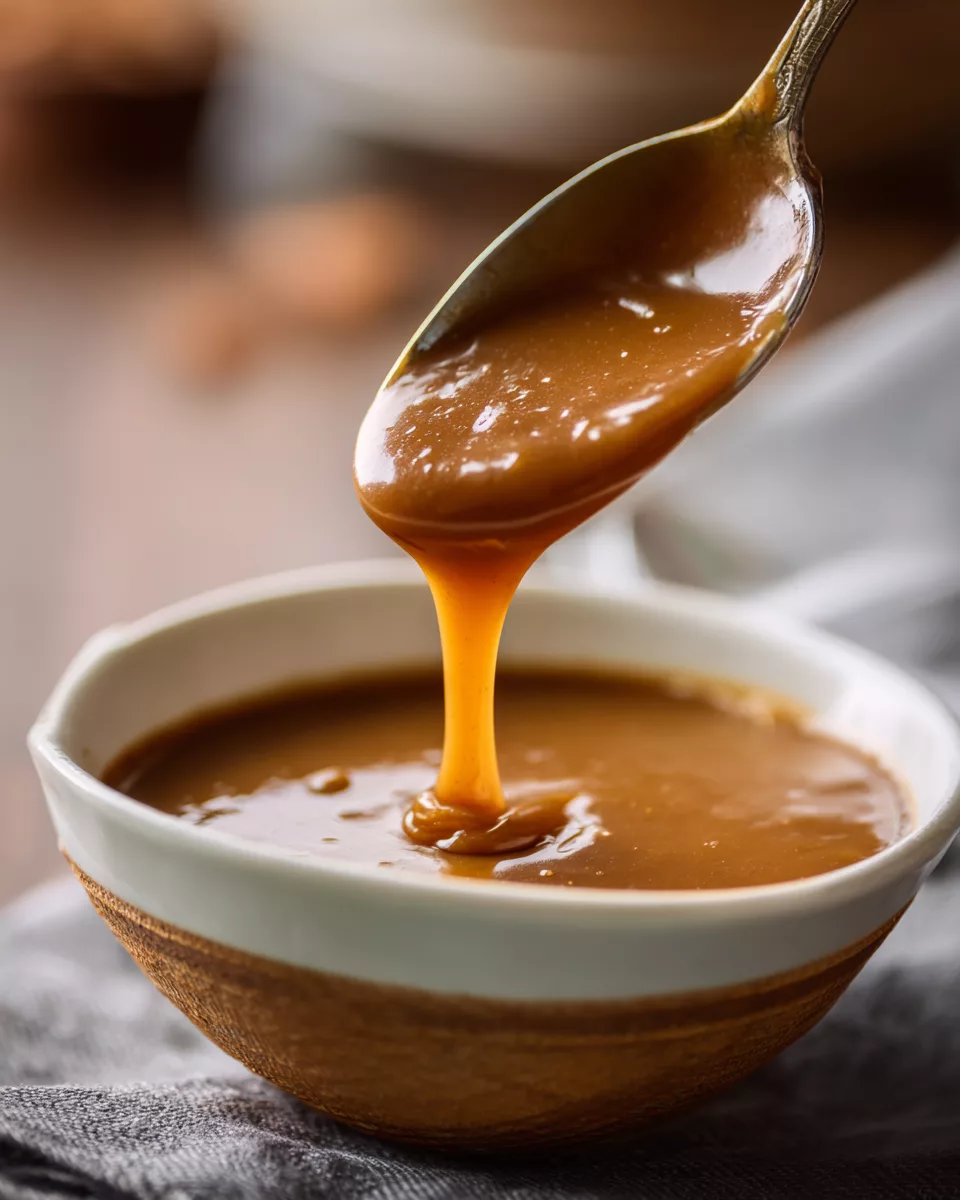
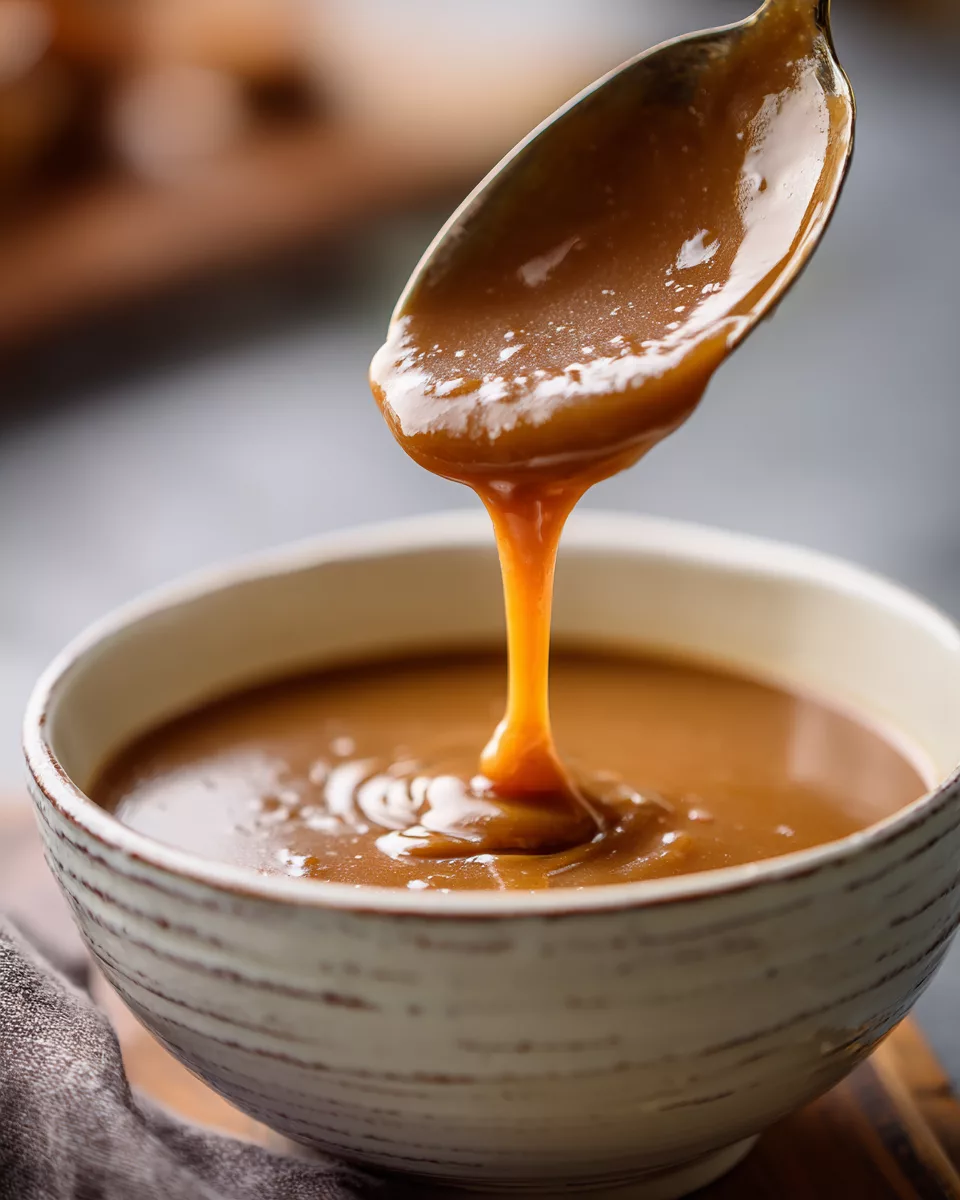
As the gravy thickens I turn off the heat and lift my spoon. It should coat the back like a blanket. If it slides off in sheets youre there. If its too runny I pour a pinch more flour dusted into the mix. Stir and let the sauce rest to see how it sets.
Thicker gravy clings better to mashed potatoes or chicken nuggets. My neighbor peeks in say ing that texture matters more than color. I nod and taste again once its off the flame. That protein rest moment gives you the final word on thickness and flavor.
Probing For Perfect Thickness
A quick dip test tells you if the gravy is done. I dunk a spoon see how long the liquid hangs on. If its too thin I go back to the heat but slow it down. A controlled slow simmer brings it up a notch without risking lumps.
Sometimes I let it sit on the counter for two minutes then stir. That pause lets the gravy cool slightly and shows the final thickness. Its a simple hack but it keeps me from overshooting the mark and ending with gluey sauce.
Drizzle And Serve With Flair
I warm my serving bowl so the gravy stays hot longer. Then I drizzle a spiral from the center out. Its silly to say but food looks better when you plate it like youre on a show. You want your guests to say wow before they even taste it.
You can garnish with chopped parsley or a grind of black pepper. A little green really pops against the brown. Its a tiny touch but it shows you care about every detail from Maillard browning to final presentation.
Storing Leftovers Like A Pro
If you have leftover gravy let it cool uncovered for ten minutes then transfer to a sealed container. Pop it in the fridge. The thickness will firm up a bit but you can fix that.
When reheating use a gentle low heat or microwave in short bursts. Stir every time or you get hot spots. Add a splash of milk or water to loosen it up. That slow gentle heat will bring it back to life without breaking separation.
Key Tips Tricks And FAQs
Q What do I do if my gravy has lumps You can whisk vigorously or push it through a fine mesh strainer. That breaks up flour bits. Dont panic just keep stirring gently over low heat.
Q Can I swap chicken stock Yes you can use turkey or vegetable stock. Just remember each swap changes the flavor profile slightly so adjust salt and pepper.
Q How do I make it extra dark Let your roux go a shade further into brown but watch it like a hawk. If you go too far the taste turns bitter fast its easy to overdo it.
Tip Always use warm stock or you risk a shock to the roux that causes clumps. Tip Rest your gravy off heat for two minutes before serving that helps it set just right.
By remembering slow simmer and low and slow principles youll nail your own KFC Style Gravy every time. Its all about heat control Maillard browning and a little patience for protein rest. Now grab a spoon and enjoy the creamy comfort youve made.
Kfc-style Gravy
Equipment
- 1 Medium saucepan
- 1 Whisk
- 1 Measuring spoons
- 1 Measuring cup
- 1 Wooden spoon
Ingredients
- ¼ cup all-purpose flour
- ¼ cup unsalted butter
- 2 cups chicken broth
- 1 teaspoon onion powder
- 1 teaspoon garlic powder
- ½ teaspoon black pepper
- ½ teaspoon salt Adjust to taste
- ½ teaspoon paprika Optional
- ½ teaspoon dried thyme Optional
Instructions
- In a medium saucepan, melt the unsalted butter over medium heat.
- Once the butter is melted and bubbling, sprinkle in the all-purpose flour while whisking continuously to form a roux. Cook for about 2 minutes until it turns a light golden color.
- Gradually add the chicken broth to the roux, whisking constantly to prevent lumps from forming.
- Continue to whisk and cook for about 5-7 minutes until the gravy thickens.
- Stir in the onion powder, garlic powder, black pepper, salt, and optional spices (paprika and thyme) to enhance the flavor.
- Taste and adjust seasoning as needed. If the gravy is too thick, you can add a bit more chicken broth to reach your desired consistency.
- Once the gravy is heated through and seasoned to your liking, remove it from the heat.
- Serve hot over your favorite dishes.