
When winter chill starts to nip at your nose there is nothing like pulling a tray of freshly baked Winter Wonderland Chocolate Chip Christmas Cookies out of the oven. The air fills with warm sweetness and you can feel your hands thaw. I remember my neighbor always fussing over each little rise on a cookie he baked. He was truly obsessed with heat and how it shapes flavor in every bite of dough that meets hot metal.
He taught me that even a simple recipe can turn into something unforgettable when you pay attention to how heat moves. He would talk about layers of caramelization that pop when sugar melts just so. Then he insisted on a proper protein rest once the cookies cool a bit. I took notes though I missed a few points at first and had to reread his scrawled list later.
That is how these Winter Wonderland Chocolate Chip Christmas Cookies came to be. Each spoonful of dough undergoes moments of low and slow warmth before a quick burst of higher heat to trigger some Maillard browning across the edges. You will find a slice of science in every crumb. Let us step into the kitchen and see how heat brings magic to your cookies.
Inside Heat Science for Cookie Alchemy
Baking cookies may look like a simple routine but it is a delicate dance of heat. The oven temperature sets the stage for what becomes a caramelized golden edge or a chewy center that barely jiggles. We balance low and slow preheat time with a hotter blast mid bake to coax out a subtle Maillard browning on every bite.
First heat slowly warms butter until it melts into sugar pockets then gradually coaxes proteins to rest in the dough before final firming. That rest period is the protein rest that keeps the cookie from turning into hockey pucks. Then the higher heat triggers caramelization of sugars and browning of proteins all at once. It is definitely a science that tastes like joy.
Pantry Roll Call for Winter Wonderland Cookies
- All Purpose Flour about two cups for structure
- Granulated Sugar three quarters of a cup for sweetness and crisp edges
- Light Brown Sugar three quarters of a cup for that deep caramel flavor
- Unsalted Butter one cup at room temperature
- Eggs two large for moisture and binding
- Vanilla Extract two teaspoons for aroma
- Baking Soda one teaspoon to let dough rise a bit
- Chocolate Chips one and a half cups of your favorite chips
Setting Up Your Station
Before you start scooping dough make sure your workspace is clear. Line a baking sheet with parchment or a silicone mat. Arrange a cooling rack nearby so nothing stacks up when the first batch comes out. That way you keep air flowing under and around each cookie which helps with even baking.
Get two bowls ready. One bowl for dry mix one for wet. Whisk flour baking soda and a pinch of salt in the first bowl. In the second bowl cream butter and sugars slowly until pale and fluffy that slow stirring helps sugar dissolve and sets you up for even caramelization later on. Then add eggs and vanilla in spurts so the mixture does not break.
A Warm Whiff of Holiday Bliss
Once those cookies hit the oven a sweet spiced butter scent drifts through the kitchen. It is like a warm hug that reminds you of every holiday party at grandma’s house. The scent tells you the critical moment is coming soon.
Stay close by the oven window and watch the edges start to brown. That moment means sugar pockets are melting into caramel and Maillard browning is dancing across the surface of each little round. It is heaven.
Halfway Pause to Check Texture
About eight minutes in your cookies will have puffed up and set at the edges but the center is still soft. Crack open the oven door just enough to flash in cool air then quickly close it. Rotate the pan front to back so each cookie bakes evenly. That quick move mimics a low and slow turn in a grill pit and it helps cook through without over browning.
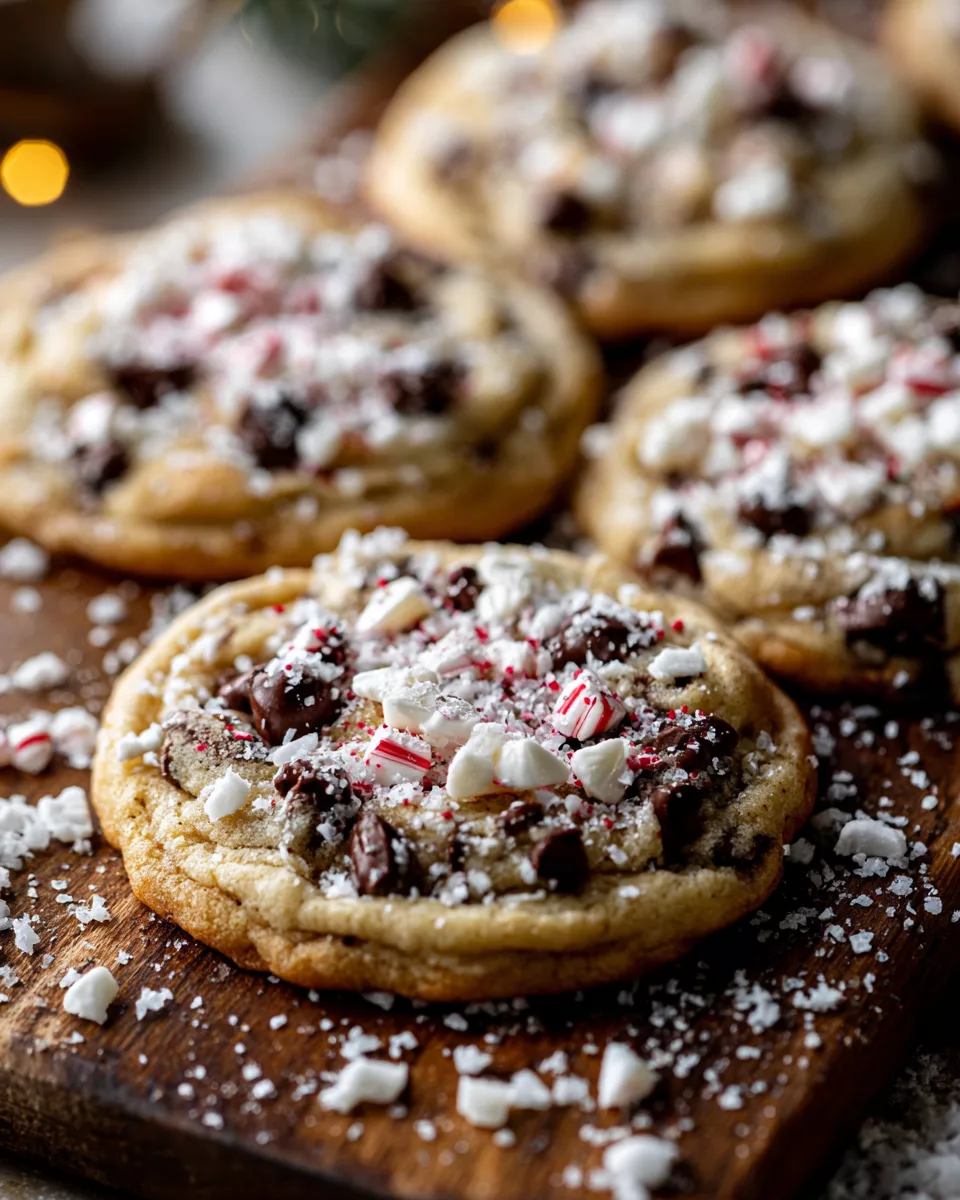
Notice if any spots are darker. If you see a border of rich golden brown you know caramelization did its thing. If the centers look clouded you are on track for a soft chewy center. Slide the tray back in and bake two to three more minutes. Then comes the ultimate test.
When to Know They Are Done
Take your oven timer off if you still hear a gentle hiss of steam. Let the cookies rest on the hot tray for two minutes or so. That protein rest lets them finish cooking from residual heat without going dry. Gently lift one with a thin spatula. The edge should feel firm and the center still wiggle just a bit.
If it falls apart on the spatula give it one more minute. If the bottom is too pale slide it back for thirty seconds. You are aiming for a light golden base that cradles the chocolate chips without soggy centers.
Show Stopping Plate Up
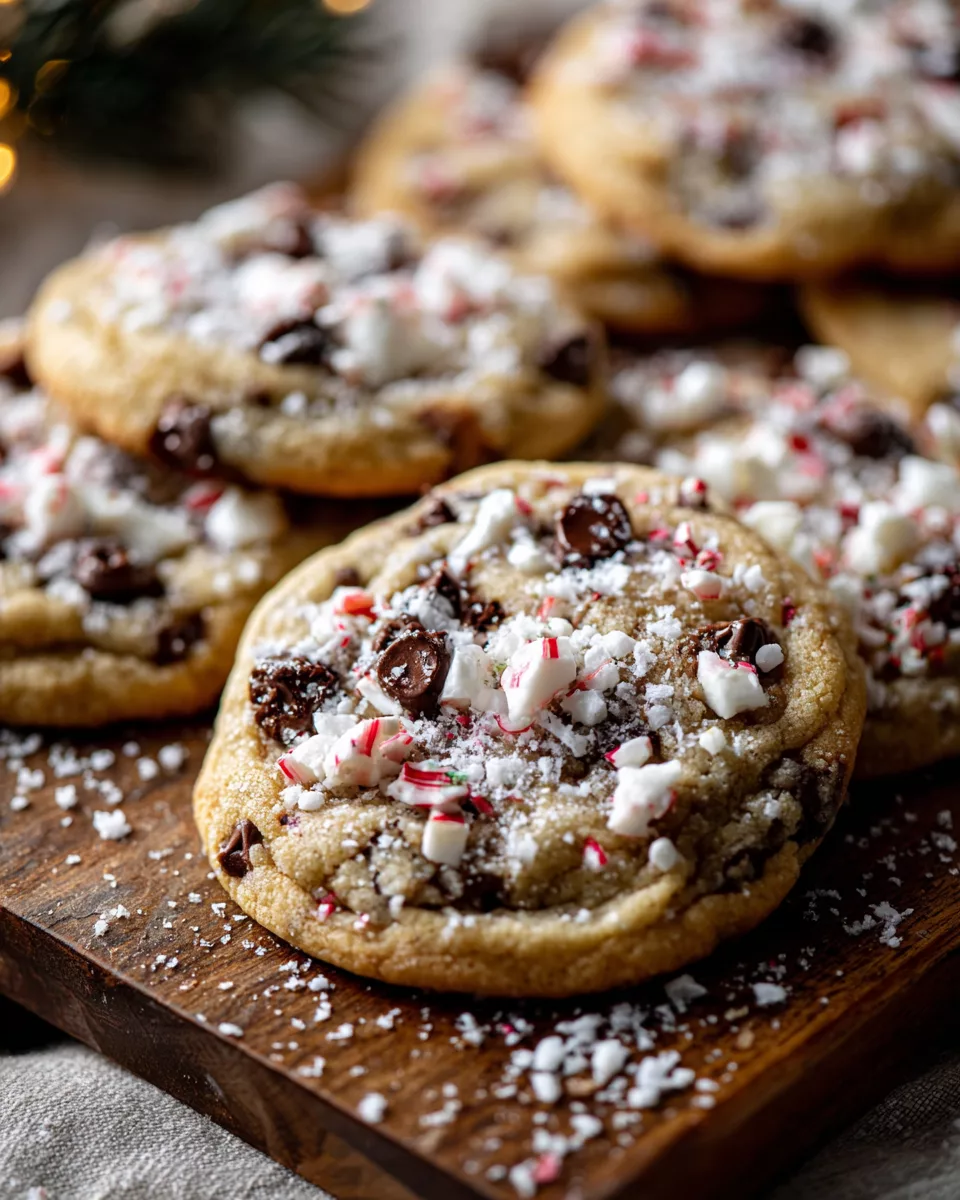
Transfer cool cookies to a festive platter. For Winter Wonderland vibes sprinkle powdered white sugar or crushed peppermint over the top. Add a sprig of pine or cinnamon sticks on the side for aroma and style. Keep the arrangement easy so guests scoop cookies one at a time and admire them before savoring.
You can layer cookies in a glass jar with wax paper in between to keep them from sticking. That gives a neat display at a party and keeps each round as perfect as when it came out of the oven.
Leftover Cookie Rescue
If you find yourself with too many Winter Wonderland Chocolate Chip Christmas Cookies fear not. Crumble them over vanilla ice cream or swirl into whipped cream for a quick dessert that looks fancy. You can also dip half the cookie in melted white chocolate then roll in colored sprinkles to make them feel new again.
For a cozy breakfast hack soak a few crumbles in warm milk or a slow simmered custard overnight then bake it like a bread pudding. It turns cookie bits into sweet custardy pockets that taste like holiday morning joy. Nothing goes to waste here.
Lessons from the Oven and Some Quick Questions Answered
These Winter Wonderland Chocolate Chip Christmas Cookies taught me that heat shapes every bit of flavor. Whether you go low and slow or flash up the temperature you are crafting layers of taste. Remember Maillard browning at the edges slow simmer aromatics in your mix or let your dough get a protein rest before baking you will see a difference.
- Can I freeze the dough? Yes you can. Scoop dough balls onto a tray freeze solid then transfer to a bag. Bake from frozen by adding a minute or two to the bake time.
- Why did my cookies spread too much? Spread happens when butter was too warm or sugar content was high. Chill dough for at least thirty minutes to slow that process. That helps keep shape and controls caramelization.
- What if I want a softer cookie? Bake at a lower temperature a few degrees less and watch the bake time closely. Then use the protein rest trick on the hot tray to finish cooking without over crisping.
- How do I store them? Keep cookies in an airtight container at room temperature. Place a slice of bread inside the container to help keep them soft with moisture exchange.
Now head into your kitchen with confidence. Let heat be your partner and science your guide then enjoy every chewy morsel of these Winter Wonderland Chocolate Chip Christmas Cookies.
Winter Wonderland Chocolate Chip Christmas Cookies
Equipment
- 1 mixing bowl
- 1 whisk
- 1 baking sheets
- 1 parchment paper
- 1 measuring cups and spoons
- 1 rubber spatula
- 1 cooling rack
Ingredients
- 1 cup unsalted butter, softened
- ¾ cup granulated sugar
- ¾ cup brown sugar, packed
- 1 teaspoon vanilla extract
- 2 large eggs
- 2 ¼ cups all-purpose flour
- 1 teaspoon baking soda
- ½ teaspoon salt
- 2 cups semi-sweet chocolate chips
- 1 cup white chocolate chips
- ½ cup crushed peppermint candies optional, for festive touch
Instructions
- Preheat your oven to 350°F (175°C) and line your baking sheets with parchment paper.
- In a large mixing bowl, cream together the softened butter, granulated sugar, and brown sugar until light and fluffy.
- Add in the vanilla extract and eggs, one at a time, mixing well after each addition.
- In a separate bowl, whisk together the flour, baking soda, and salt.
- Gradually add the dry ingredients to the wet ingredients, mixing until just combined.
- Fold in the semi-sweet chocolate chips, white chocolate chips, and crushed peppermint candies if using.
- Using a cookie scoop or tablespoon, drop rounded balls of dough onto the prepared baking sheets about 2 inches apart.
- Bake in the preheated oven for 9-11 minutes, or until edges are lightly golden. The centers may look slightly underbaked, which is perfect for a chewy texture.
- Remove from the oven and let the cookies cool on the baking sheet for 2 minutes before transferring them to a cooling rack to cool completely.
- For a festive touch, you can sprinkle extra crushed peppermint on top of the cookies before baking.
- Store the cookies in an airtight container at room temperature for up to one week or freeze for longer storage.



